
Making a Turtle Bot 2: Making a Dash Robot into a Turtle
Since a capable Dash robot fell into my lap, I could skip ahead and build a full child friendly turtle bot game. I went for simplicity and built the control logic and GUI in Python.
This completes the game idea I described in:
Making a Turtle Bot 1: Hacking a Mint Cleaner
and uses the interface I built in:
Reverse Engineering the Dash Learning Robot
Here’s a basic demo of the bot along with part of the GUI window:
and a longer demo of using cards to plan out a path to the goal:
The full source can be found in: https://github.com/axlan/dash-turtle-game
Turning the Dash into a Turtle
My first goal was to use the interface I made in https://github.com/axlan/WonderPy to send commands and get the sensor data I needed to implement the game.
Using the interface for real, I quickly found tons of bugs. Most were simple typos, but quite a few were also around how I wrapped the asyncio BLE library so it could be used from a traditional threaded application. There’s lots of nuance especially around graceful shutdown and error handling that made this a real pain to get right. I understand why many libraries I’ve seen create separate implementations for these use cases.
The bulk of this initial work involved getting the robot to follow the game grid. Getting the bot to turn in place and move forward was extremely simple. The difficulty was aligning these movements to the game board and keeping it aligned.
After experimenting with the Dash robot, I decided that inertial positioning (the robot’s estimate based on accelerometer, gyro, and wheel sensors) was good enough for this game. I had successfully tested using AprilTags to generate absolute position from markers built into the game board. However, this would have required a camera to monitor the game space, which seemed cumbersome for something I wanted to set up quickly. I also considered using light sensors to detect lines or features under the robot, but this was no longer an option since I was using a stock robot without these sensors. While drift in the inertial measurements is easy to notice, it rarely was enough for the bot to be off by enough to be off the grid in the dozen or so steps needed to solve the maze.
One weird thing I found in testing was that the Dash robot would occasionally turn on a television if pointed directly at it. At first it was like a poltergeist. I believe this relates to its IR beacon feature, where robots identify others nearby by decoding data sent from IR transceivers. I had also considered using this for absolute positioning, but that would have required significant reverse engineering effort and seemed unnecessary.
The Dash robot’s interface reports its current pose and includes a “pose” command. This lets you specify x and y positions in centimeters along with an orientation it should move to. This meant all I needed to do was map the orientation and x, y positions from the robot’s coordinate system to the game board.
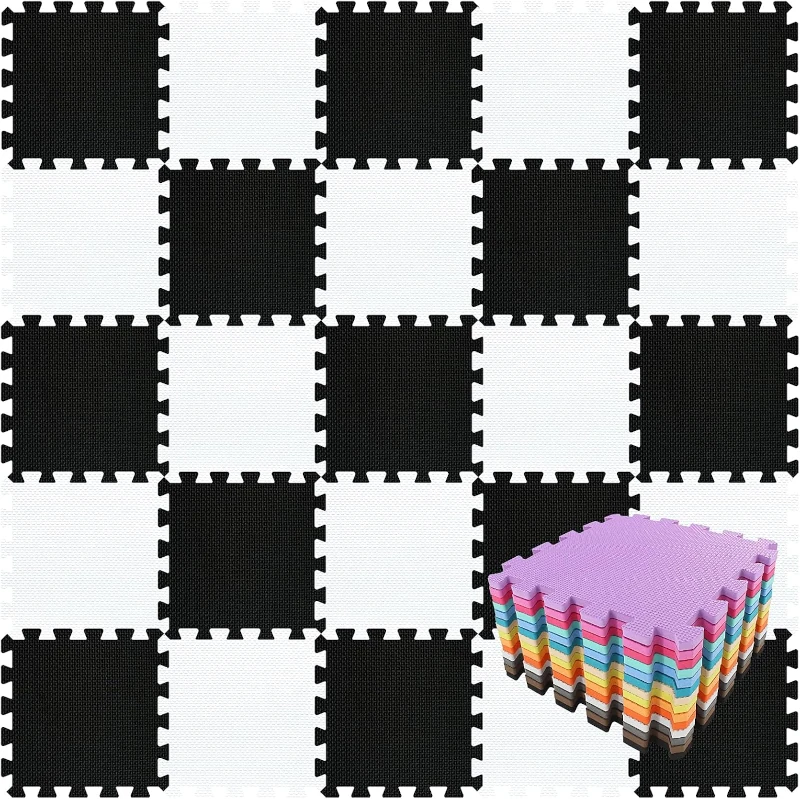
Since I started planning this turtle game, I’d been thinking about what would make a good game board. I looked into buying a giant checkerboard or a picnic table cover. In the end, the most cost effective items I found were puzzle piece foam mats meant for gyms or children’s playrooms.
Since I wasn’t planning on detecting the mat edges for positioning, I got an alphabet mat to make it easier to map the mat tiles to the virtual game board.
The Dash robot’s coordinate system is described in https://github.com/playi/WonderPy/blob/master/doc/WonderPy.md#coordinate-systems. Each time the robot boots, it initializes its pose to {"x"=0, "y"=0, "degrees"=0}. It also has additional commands to reset its coordinates, but I didn’t reverse engineer that part of the command interface since I could compensate on the host side. To simplify the controller logic, I created a series of functions to translate, rotate, and scale the pose reported by the robot to a coordinate on the game board where each tile is one unit long.
1
2
3
4
5
6
7
8
9
10
11
12
def get_pose(self):
    # Remove start offset so robot starts at 0,0
    bot_x = self.sensors.x - self.start_pose_robot.x
    bot_y = self.sensors.y - self.start_pose_robot.y
    # Apply rotation so robot starts at correct angle
    # -90 to handle turtle bot coordinates face in +y direction
    bot_x, bot_y = rotate_point(bot_x, bot_y, self.theta_offset - 90)
    return TurtlePose(
        bot_x * self.pos_scale + self.start_pose_virtual.x,
        bot_y * self.pos_scale + self.start_pose_virtual.y,
        normalize_ang360(self.sensors.degrees + self.theta_offset),
    )
Once all the bugs were worked out, this provided a solid starting point for building the game controller.
Making the GUI and Adding Features
I went with PyGame for the GUI since it’s simple and I’d used it before. I added another transform to go back and forth between robot coordinates, game map coordinates, and pixels on the PyGame map. To command the robot, I used the arrow keys reported by PyGame.
The main challenge was setting up the threading strategy to handle the robot and GUI. I went from one big function to separating components more logically into classes.
I realized this would be a great application for the Giving a Toy Controller WiFi I had made. I added an MQTT client to supplement keyboard commands with button presses from the toy controller. I figured I could also wire in the turtle board game controls over MQTT when I got to it.
At this point, adding features was straightforward:
- GUI shows positioning estimate and can queue up a sequence of commands to execute when connected.
- Simulation mode allows testing without a Dash bot connected.
- IR distance sensors provide basic collision detection.
- The front, right, and left LEDs match the colors of the controller buttons to help the player understand how clockwise and counterclockwise turns correspond to the bot’s relative position.
- The light on top of the bot indicates if it’s busy. When sending commands in real time, it will sigh if a new command is sent while executing the previous one.
I went on a little side quest when I was trying to get the robot’s sound effects working. To get the Dash to play sound, the command specifies a sound effects file name on the bot. A lot of the files in the original library were no longer working. I downloaded the APK and extracted the files with apktool. This would have been another avenue for reverse engineering the interface since it had the java implementation including debug information. It also had the robot’s firmware with the actual audio files that got compiled in.
Making the NFC Card Reader
The code for the reader can be found at:
https://github.com/axlan/dash-turtle-game/tree/master/reader_firmware
To “play” the cards from the original turtle game as commands to the robot, I decided the easiest approach was to stick them on NFC cards. I got 40 cards for less than $15.
While I could have used a phone as a reader, I’ve had bad luck running servers on phones. Instead, I made a standalone reader by connecting an Elechouse PN532 NFC module to an ESP32. For simplicity, I used the high speed UART connection to the ESP32’s serial2 pins.
I did a quick test with the Elechouse library https://github.com/elechouse/PN532. This library was somewhat annoying since it isn’t packaged as a library that can easily be pulled into a PlatformIO or Espressif project. Even including it as a submodule was cumbersome since I needed to delete code for the extra interfaces. Once I got it working, though, it worked great.
I decided to try a better packaged Adafruit library: https://github.com/adafruit/Adafruit-PN532. This library required a much deeper understanding of NFC cards. I eventually got it working, but it performed significantly worse than the Elechouse library. I ended up switching back and just adding the files I needed to my repo.
I think the Elechouse library was just packaging together a bunch of libraries as reference in https://github.com/Seeed-Studio/PN532:
This library is based on Adafruit_NFCShield_I2C. Seeed Studio rewrite the library to make it easy to support different interfaces and platforms. @Don writes the NDEF library to make it more easy to use. @JiapengLi adds HSU interface. @awieser adds card emulation function.
but I didn’t bother going back to test this.
To integrate the cards into the game, I used the “NFC Tools” app on my phone to add the card identifier (UP, LEFT, RIGHT, etc.) as a text record on each card. This was sent along with the card UID as JSON to my MQTT server, where the turtle game could listen for them.
Once the firmware was working, I just stuck the electronics in a box and connected a USB battery.
Conclusion
While I ended up adding a ton of features, this all came together pretty quickly. The final product is fairly solid and has mostly held up to use by a four year old. The inertial positioning is the biggest limitation. Probably more because initial conditions need to be set manually than due to drift during the run.
If I wanted to make this more standalone, I could require set start and goal points on the mat. For feedback, I could probably create a dedicated display attached to a Raspberry Pi or ESP32.
I’m still considering finishing the vacuum cleaner robot I started or implementing an absolute positioning system, but those are shelved for another day.
As for using this as an actual toy, my daughter thought it was neat, but it was just another toy in toy room. She’s not really old enough to plan out the robot’s course and I think I’d need to add some story elements to keep her engaged. The actual software designed for the Dash is much more polished, but seems like it would be more suitable for an 8+ year old. Rather than being a toy I think she’d learn from directly, I hope she gets something on seeing me make something an using it to play with her.