Holiday Crafts
Over the holidays I spent some time on craft projects. Really enjoyed having access to my tools and materials after not being able to craft much while traveling.
Princess Mononoke Kit
The first thing I did was add lights to a Princess Mononoke kit I had gotten in Japan. The kit had little holes in the back of it that looked like they were for a starry sky affect. I’m not really sure what the original intended method of lighting was, but I took scrap pulsing RGB LED strip and cut out 5 of the lights, and connected a simple switch and USB cable along with some scrap wood.
Untitled Goose 3D Print
My cheap hacked XYZ 3D printer had stopped working, so I finally decided to either fix it, or scrap it.
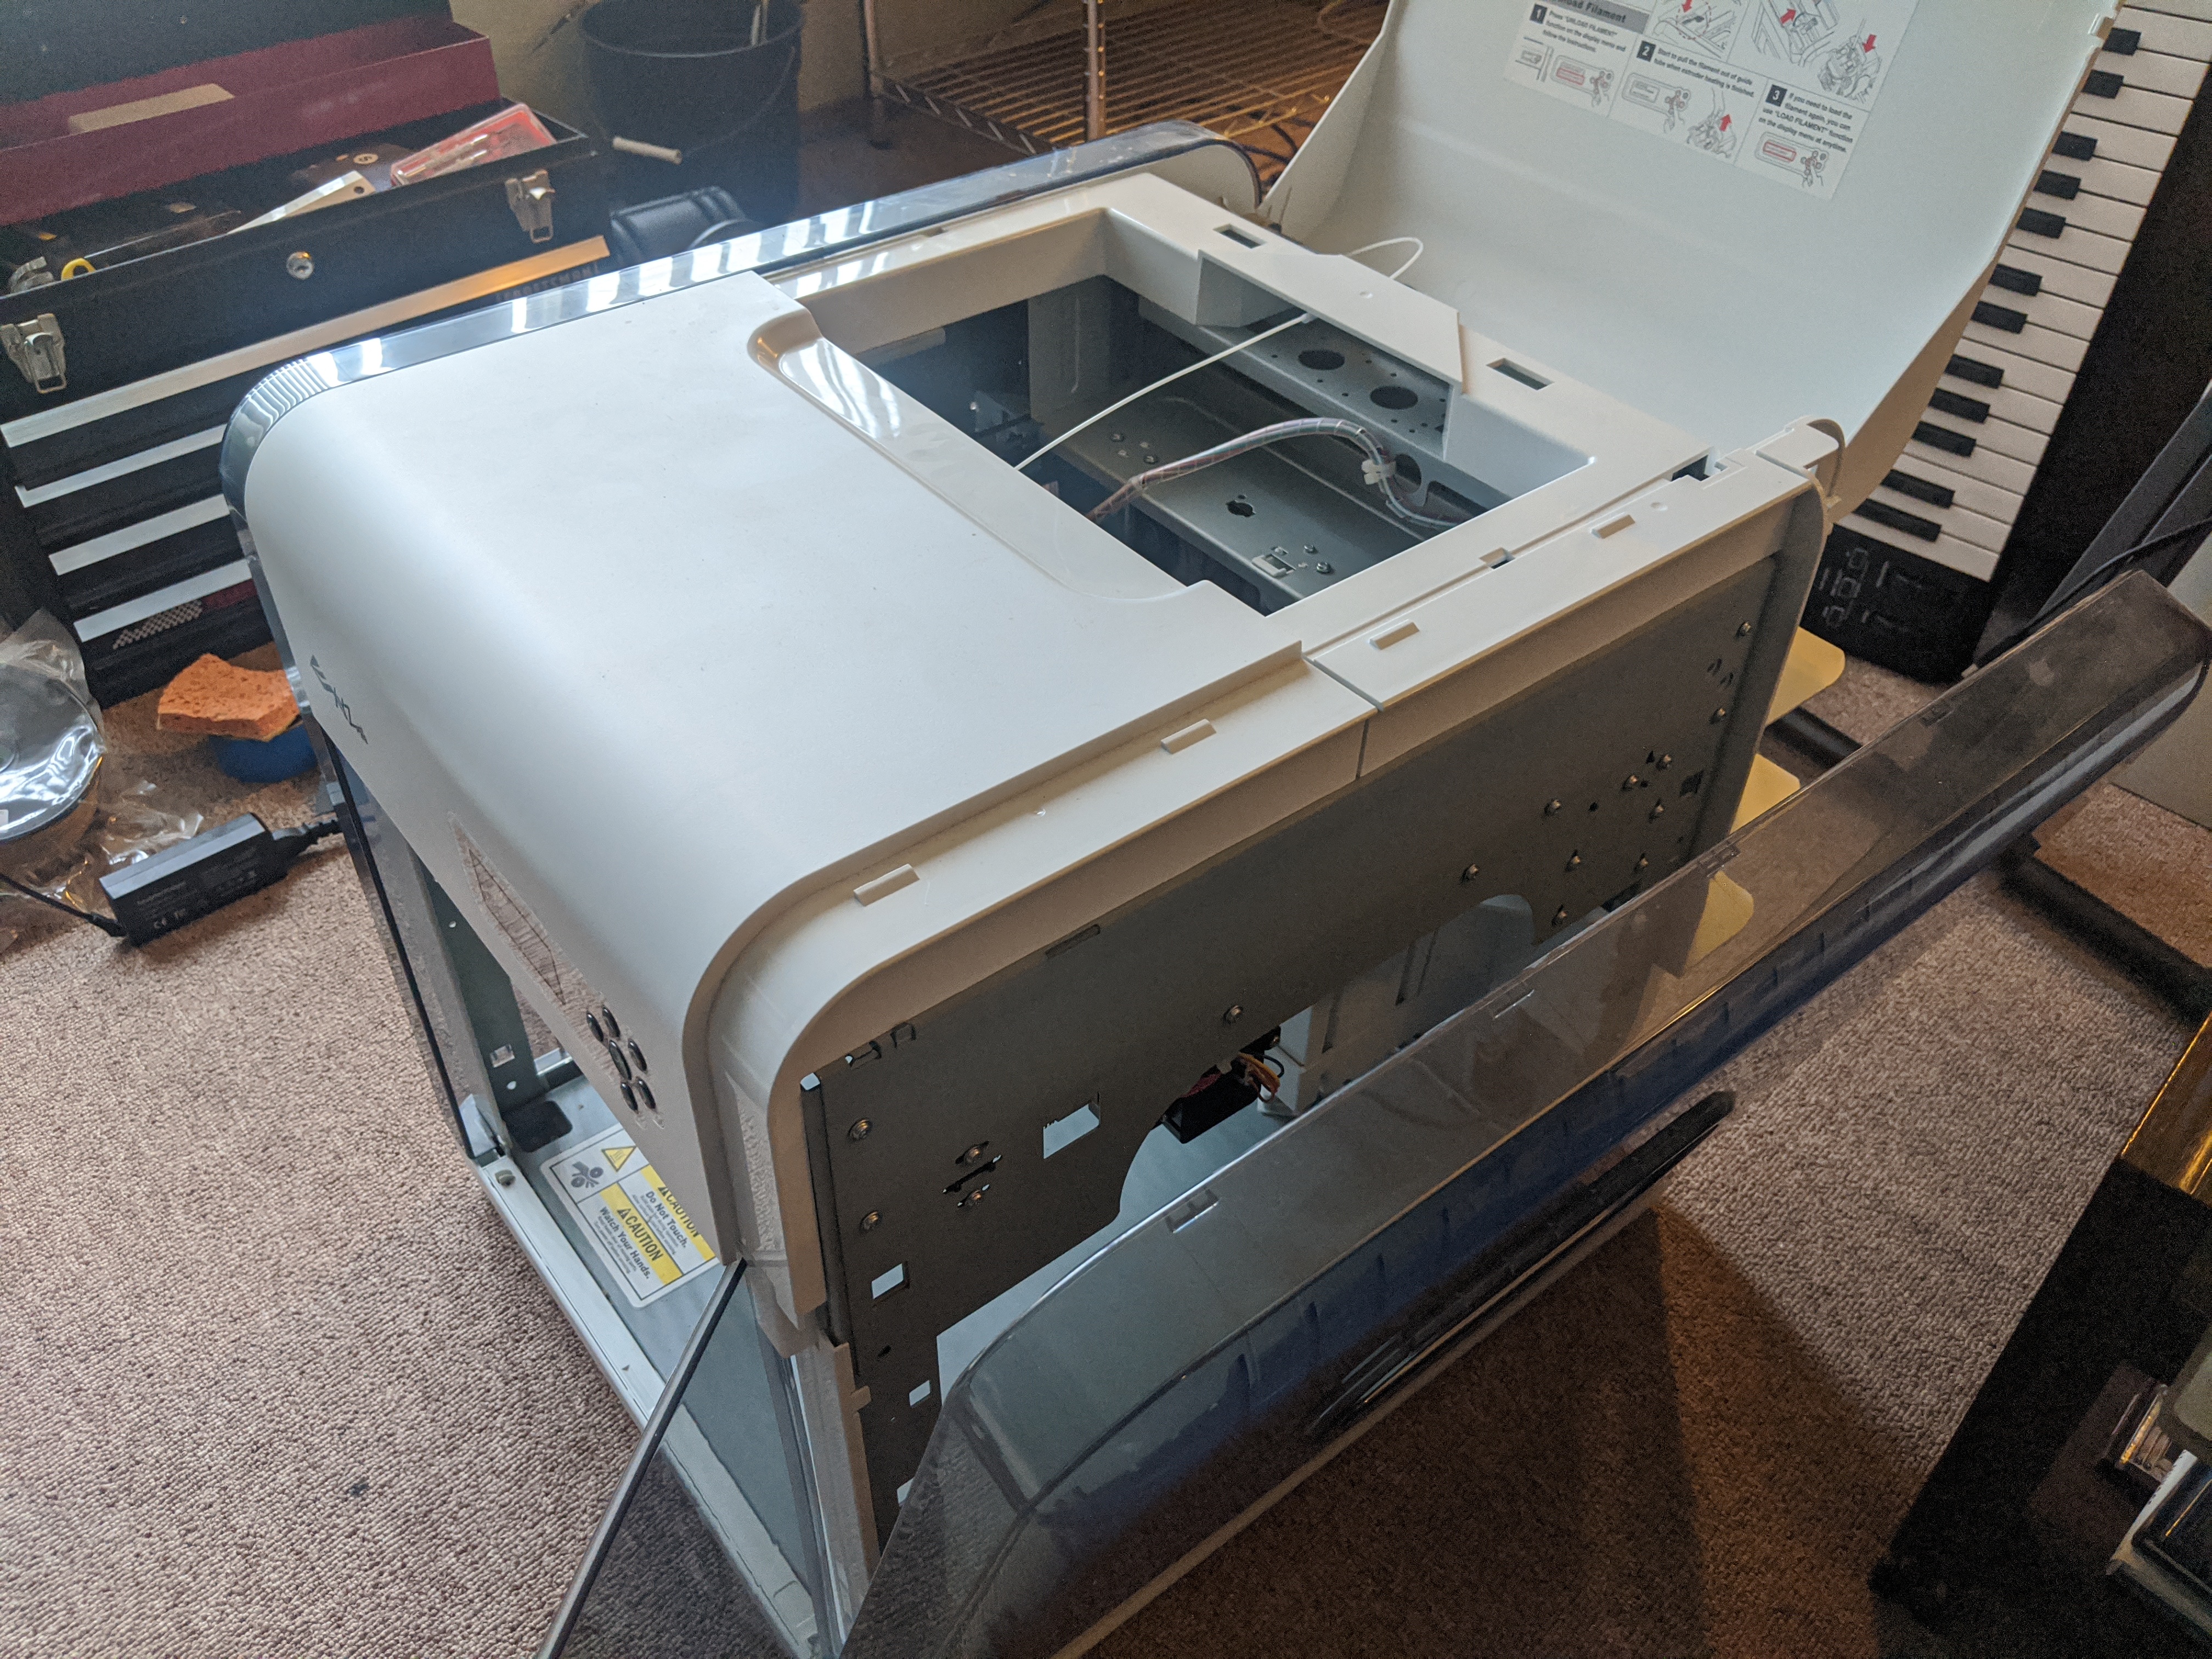
It seemed like the trouble was with the belts slipping. I took the sides off by prying the clips from the top and followed this guide Ender 3 Belt Tensioning. I also tightened the case for the motor itself. After fiddling with it a bit I didn’t have a ton of luck, so I ended up trying to align the pieces on the belt on the two sides of the printer since they seemed to be at an angle. I guessed that while the belt was loose one side might have slipped while the other didn’t. This seems to have fixed things.
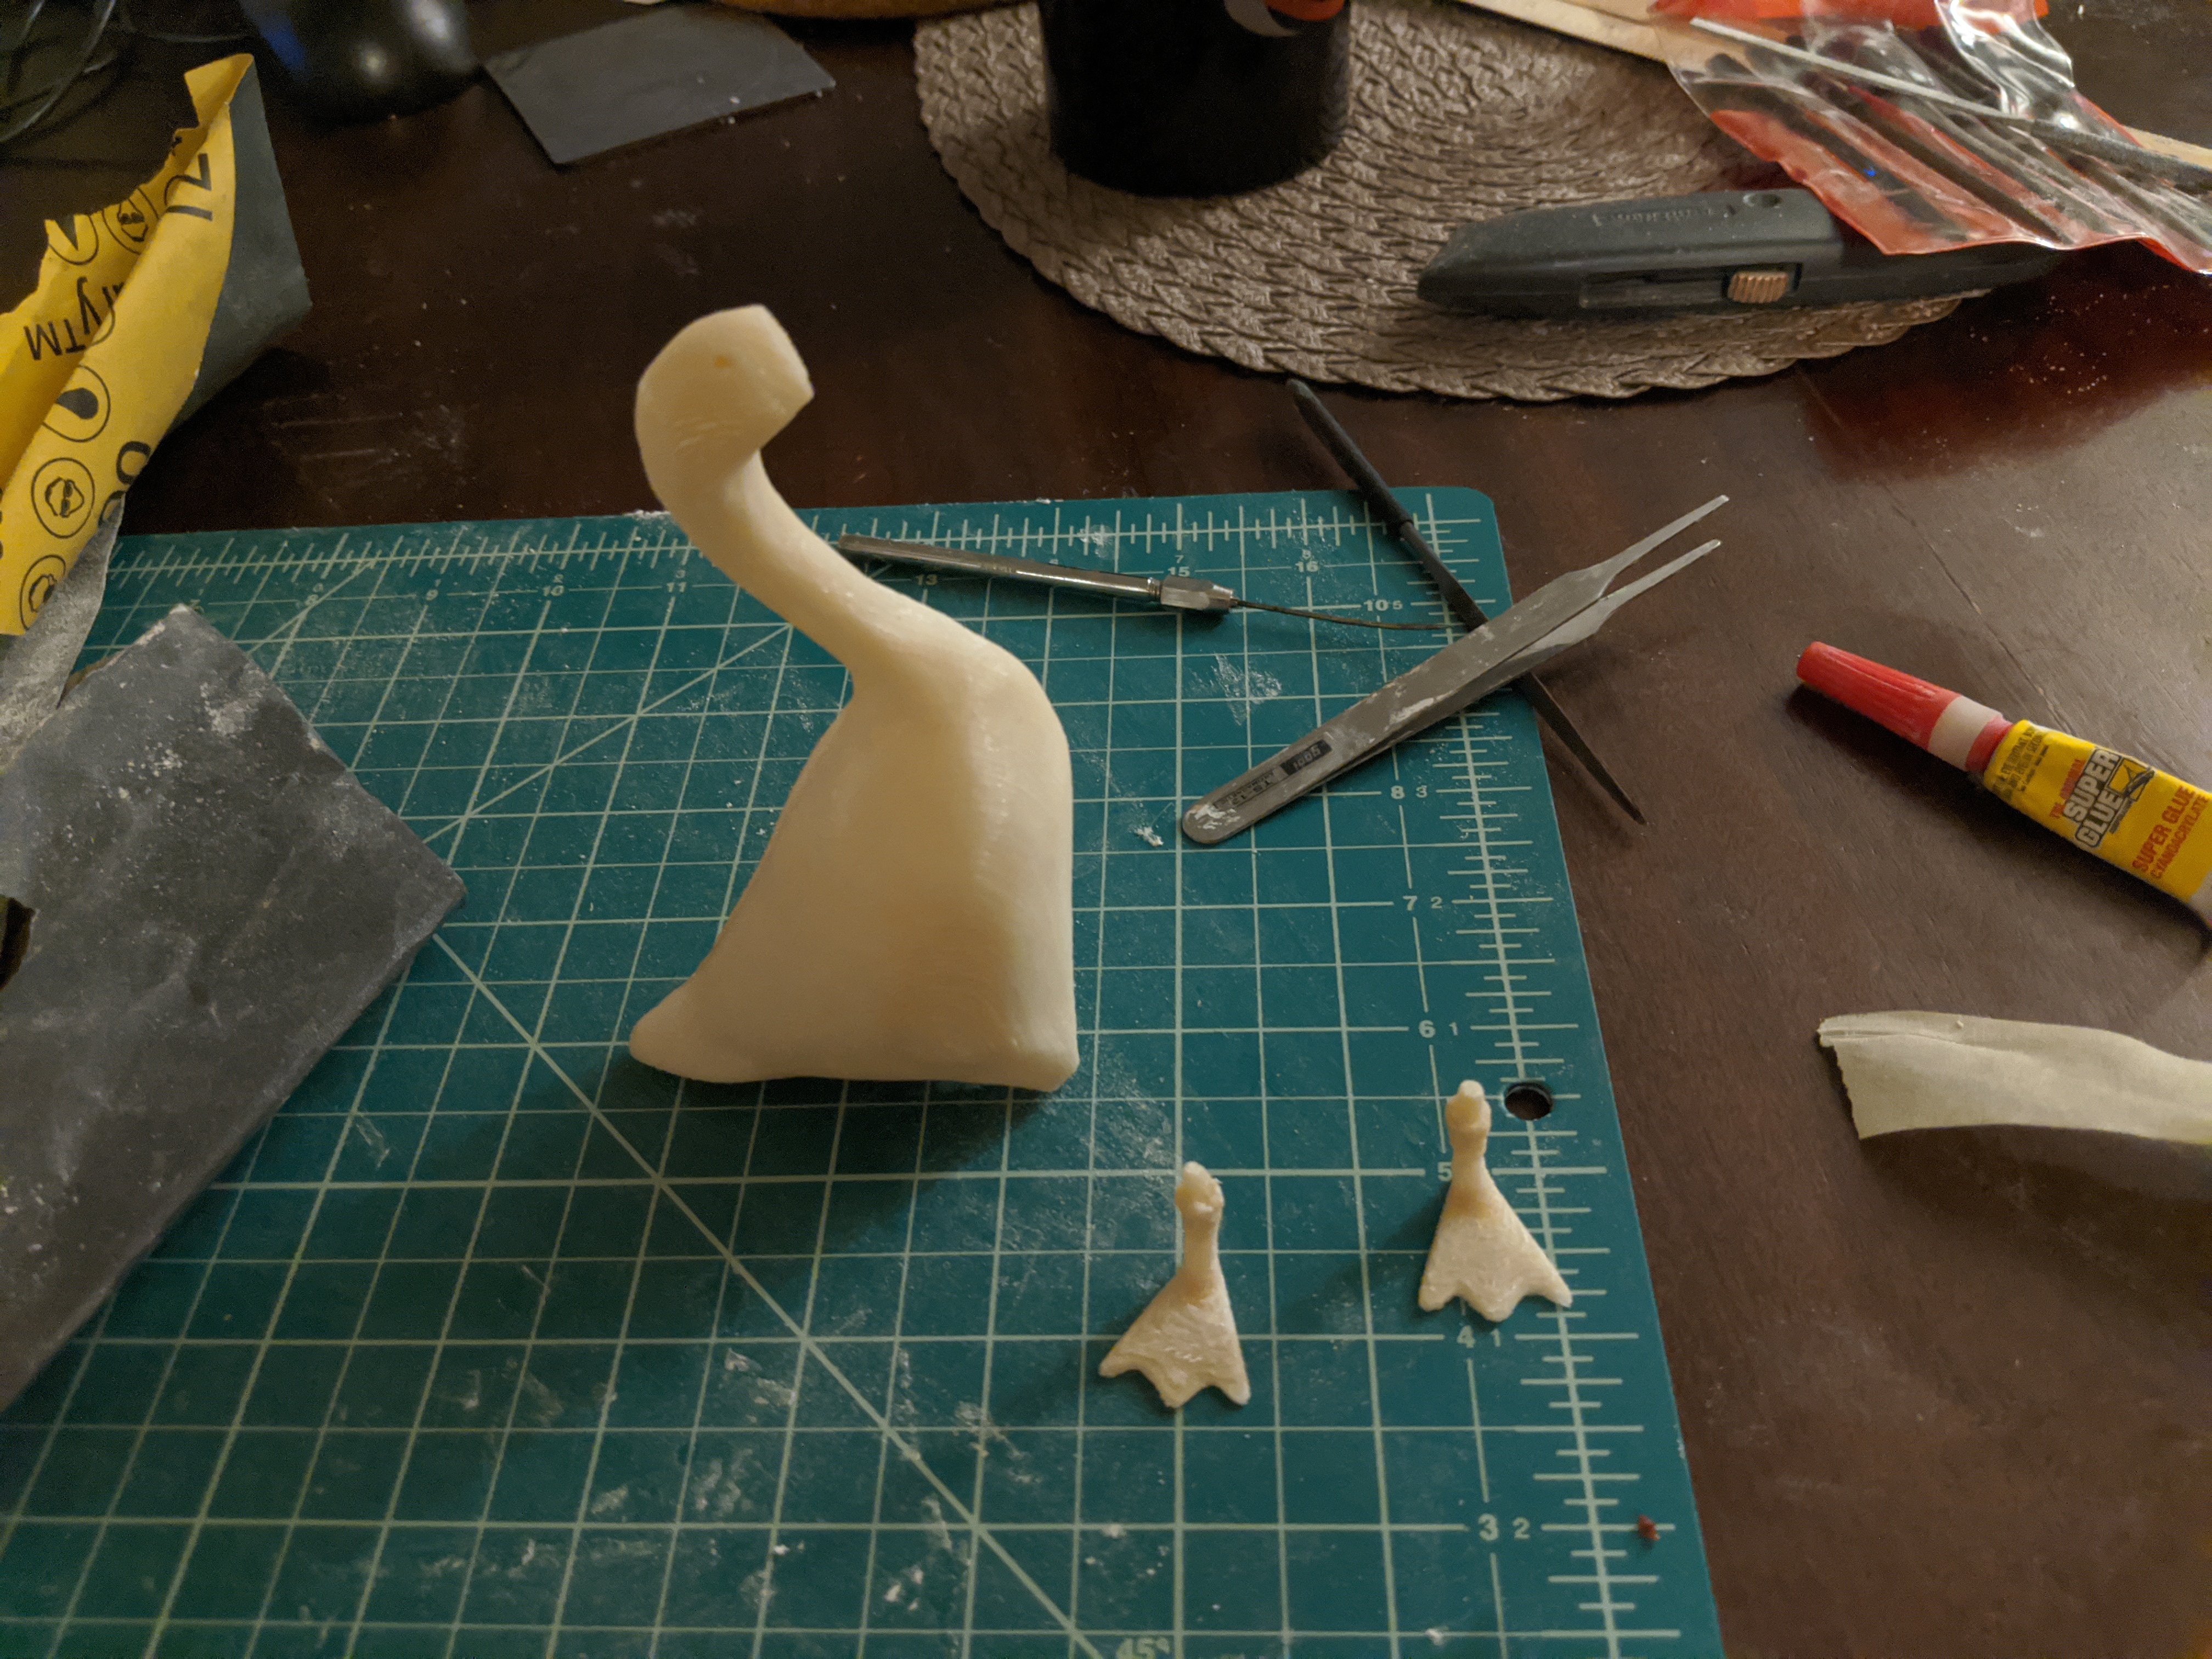
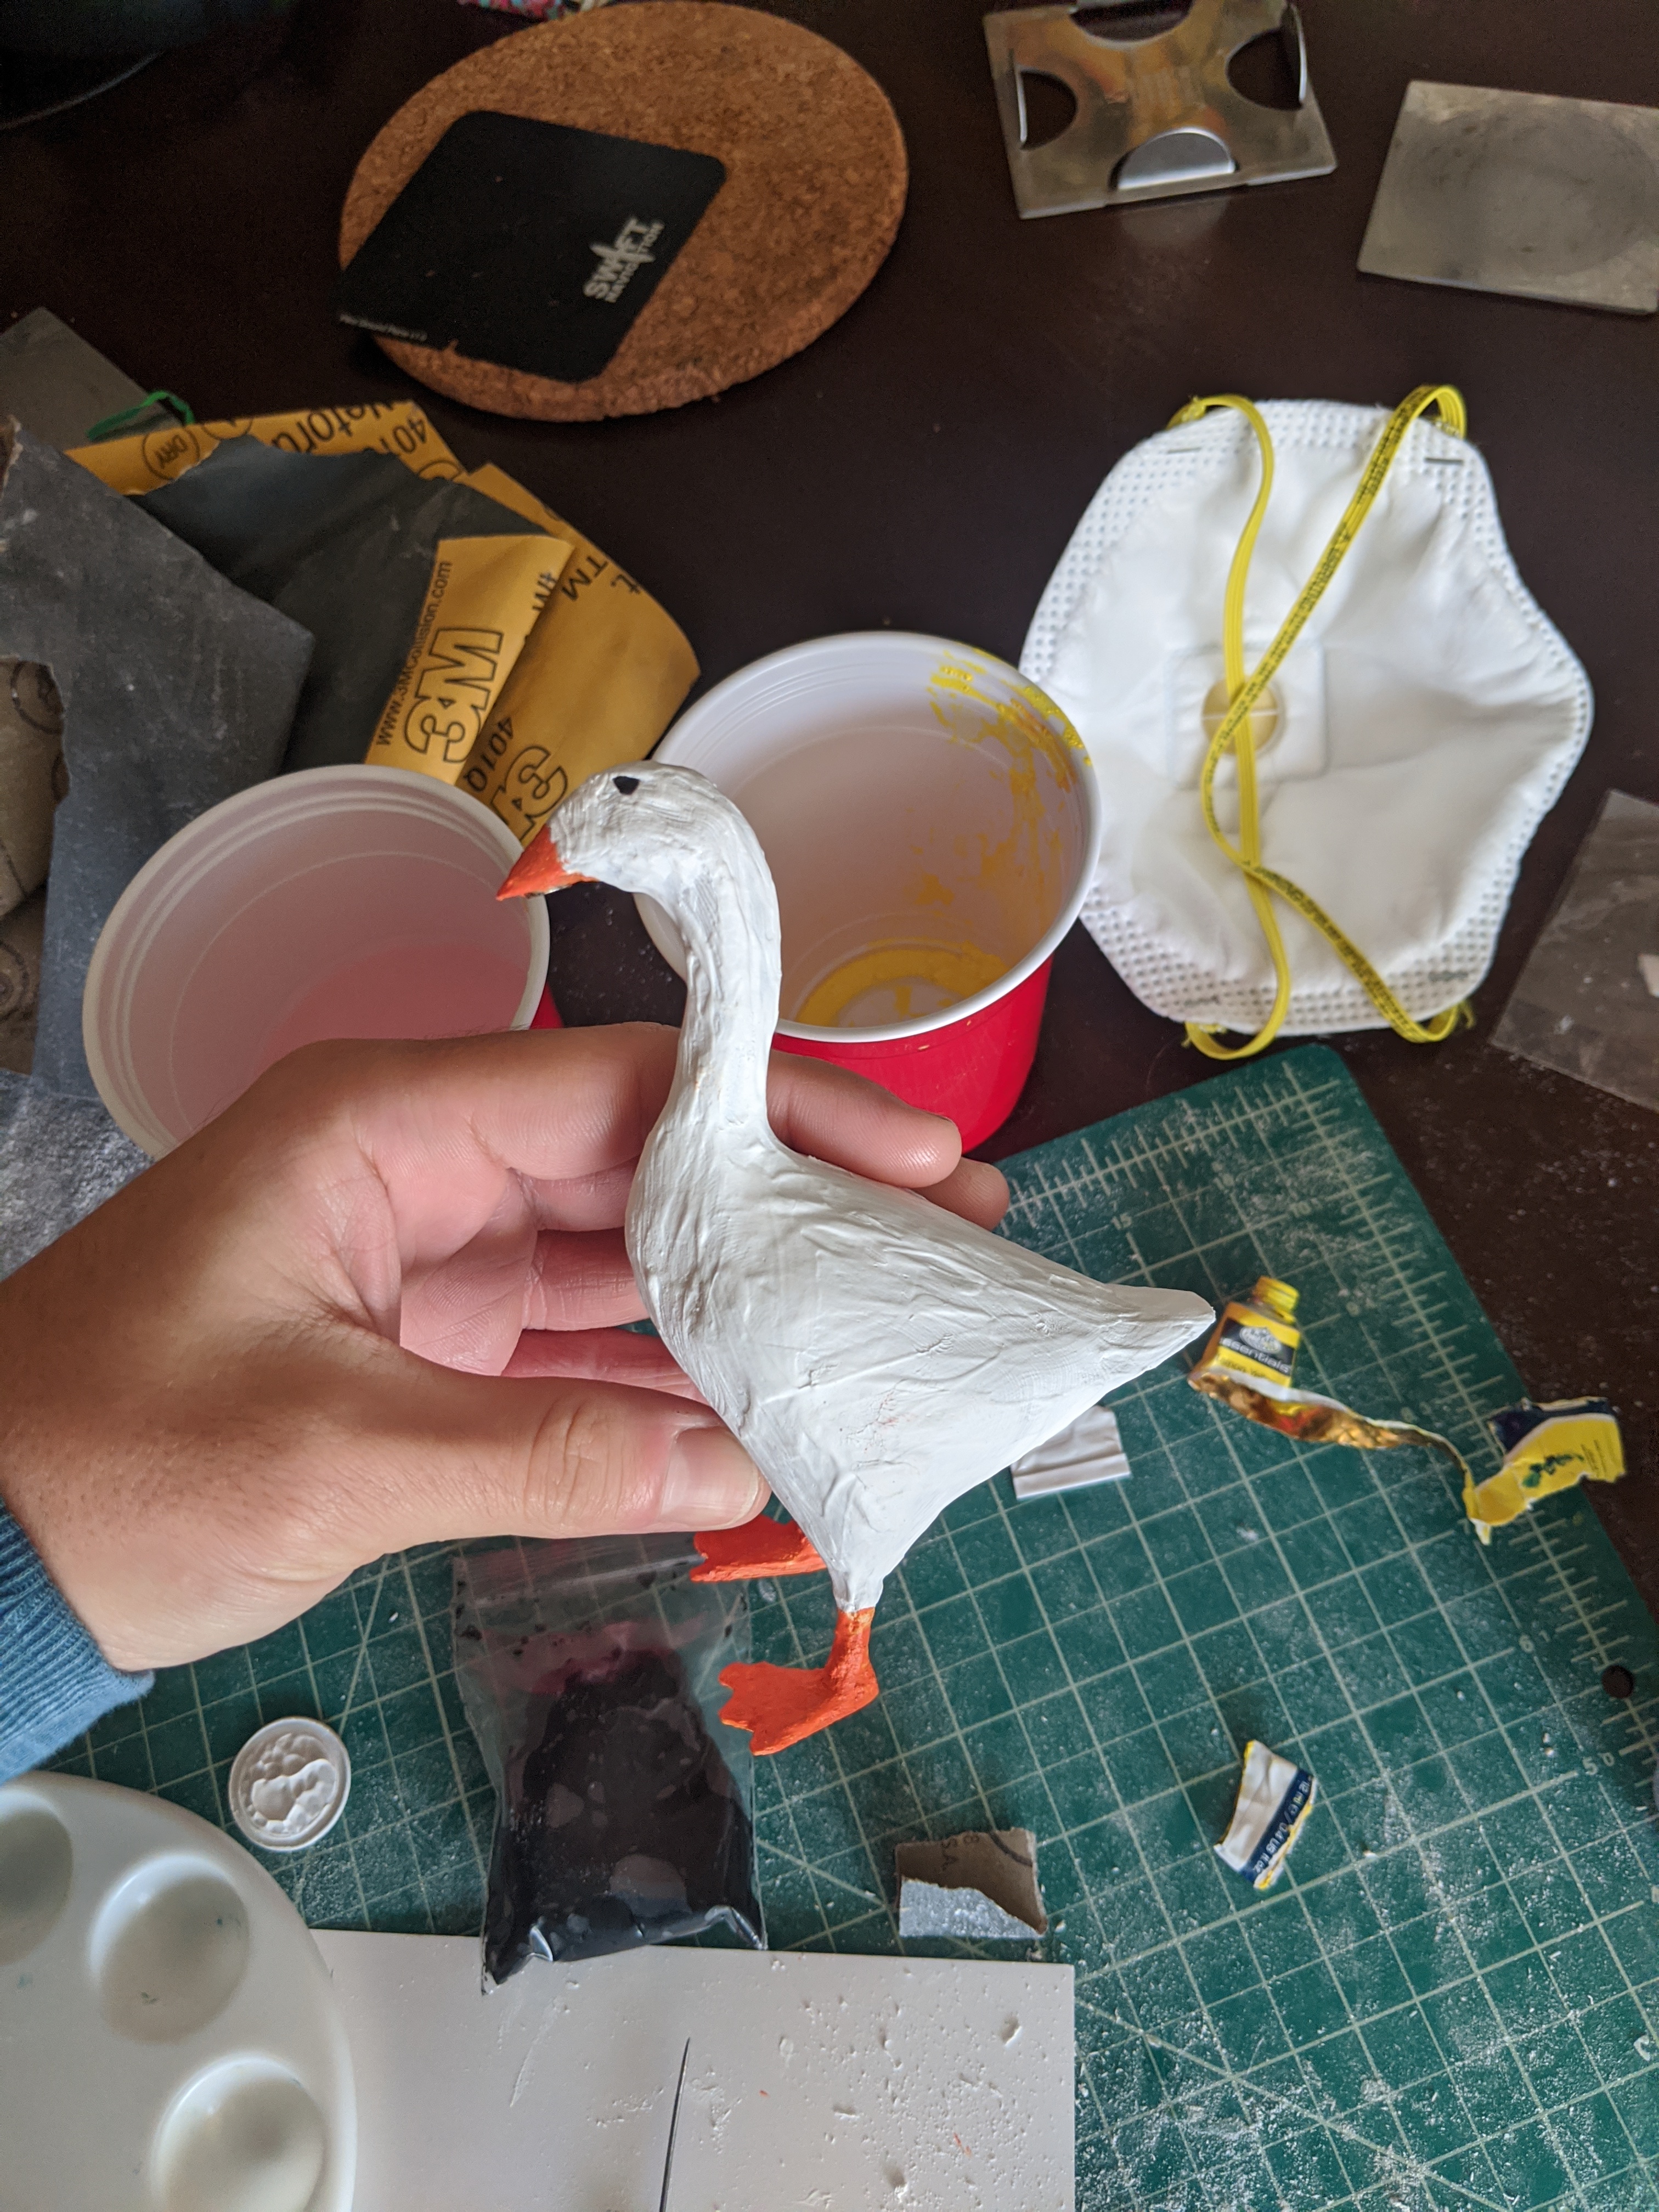
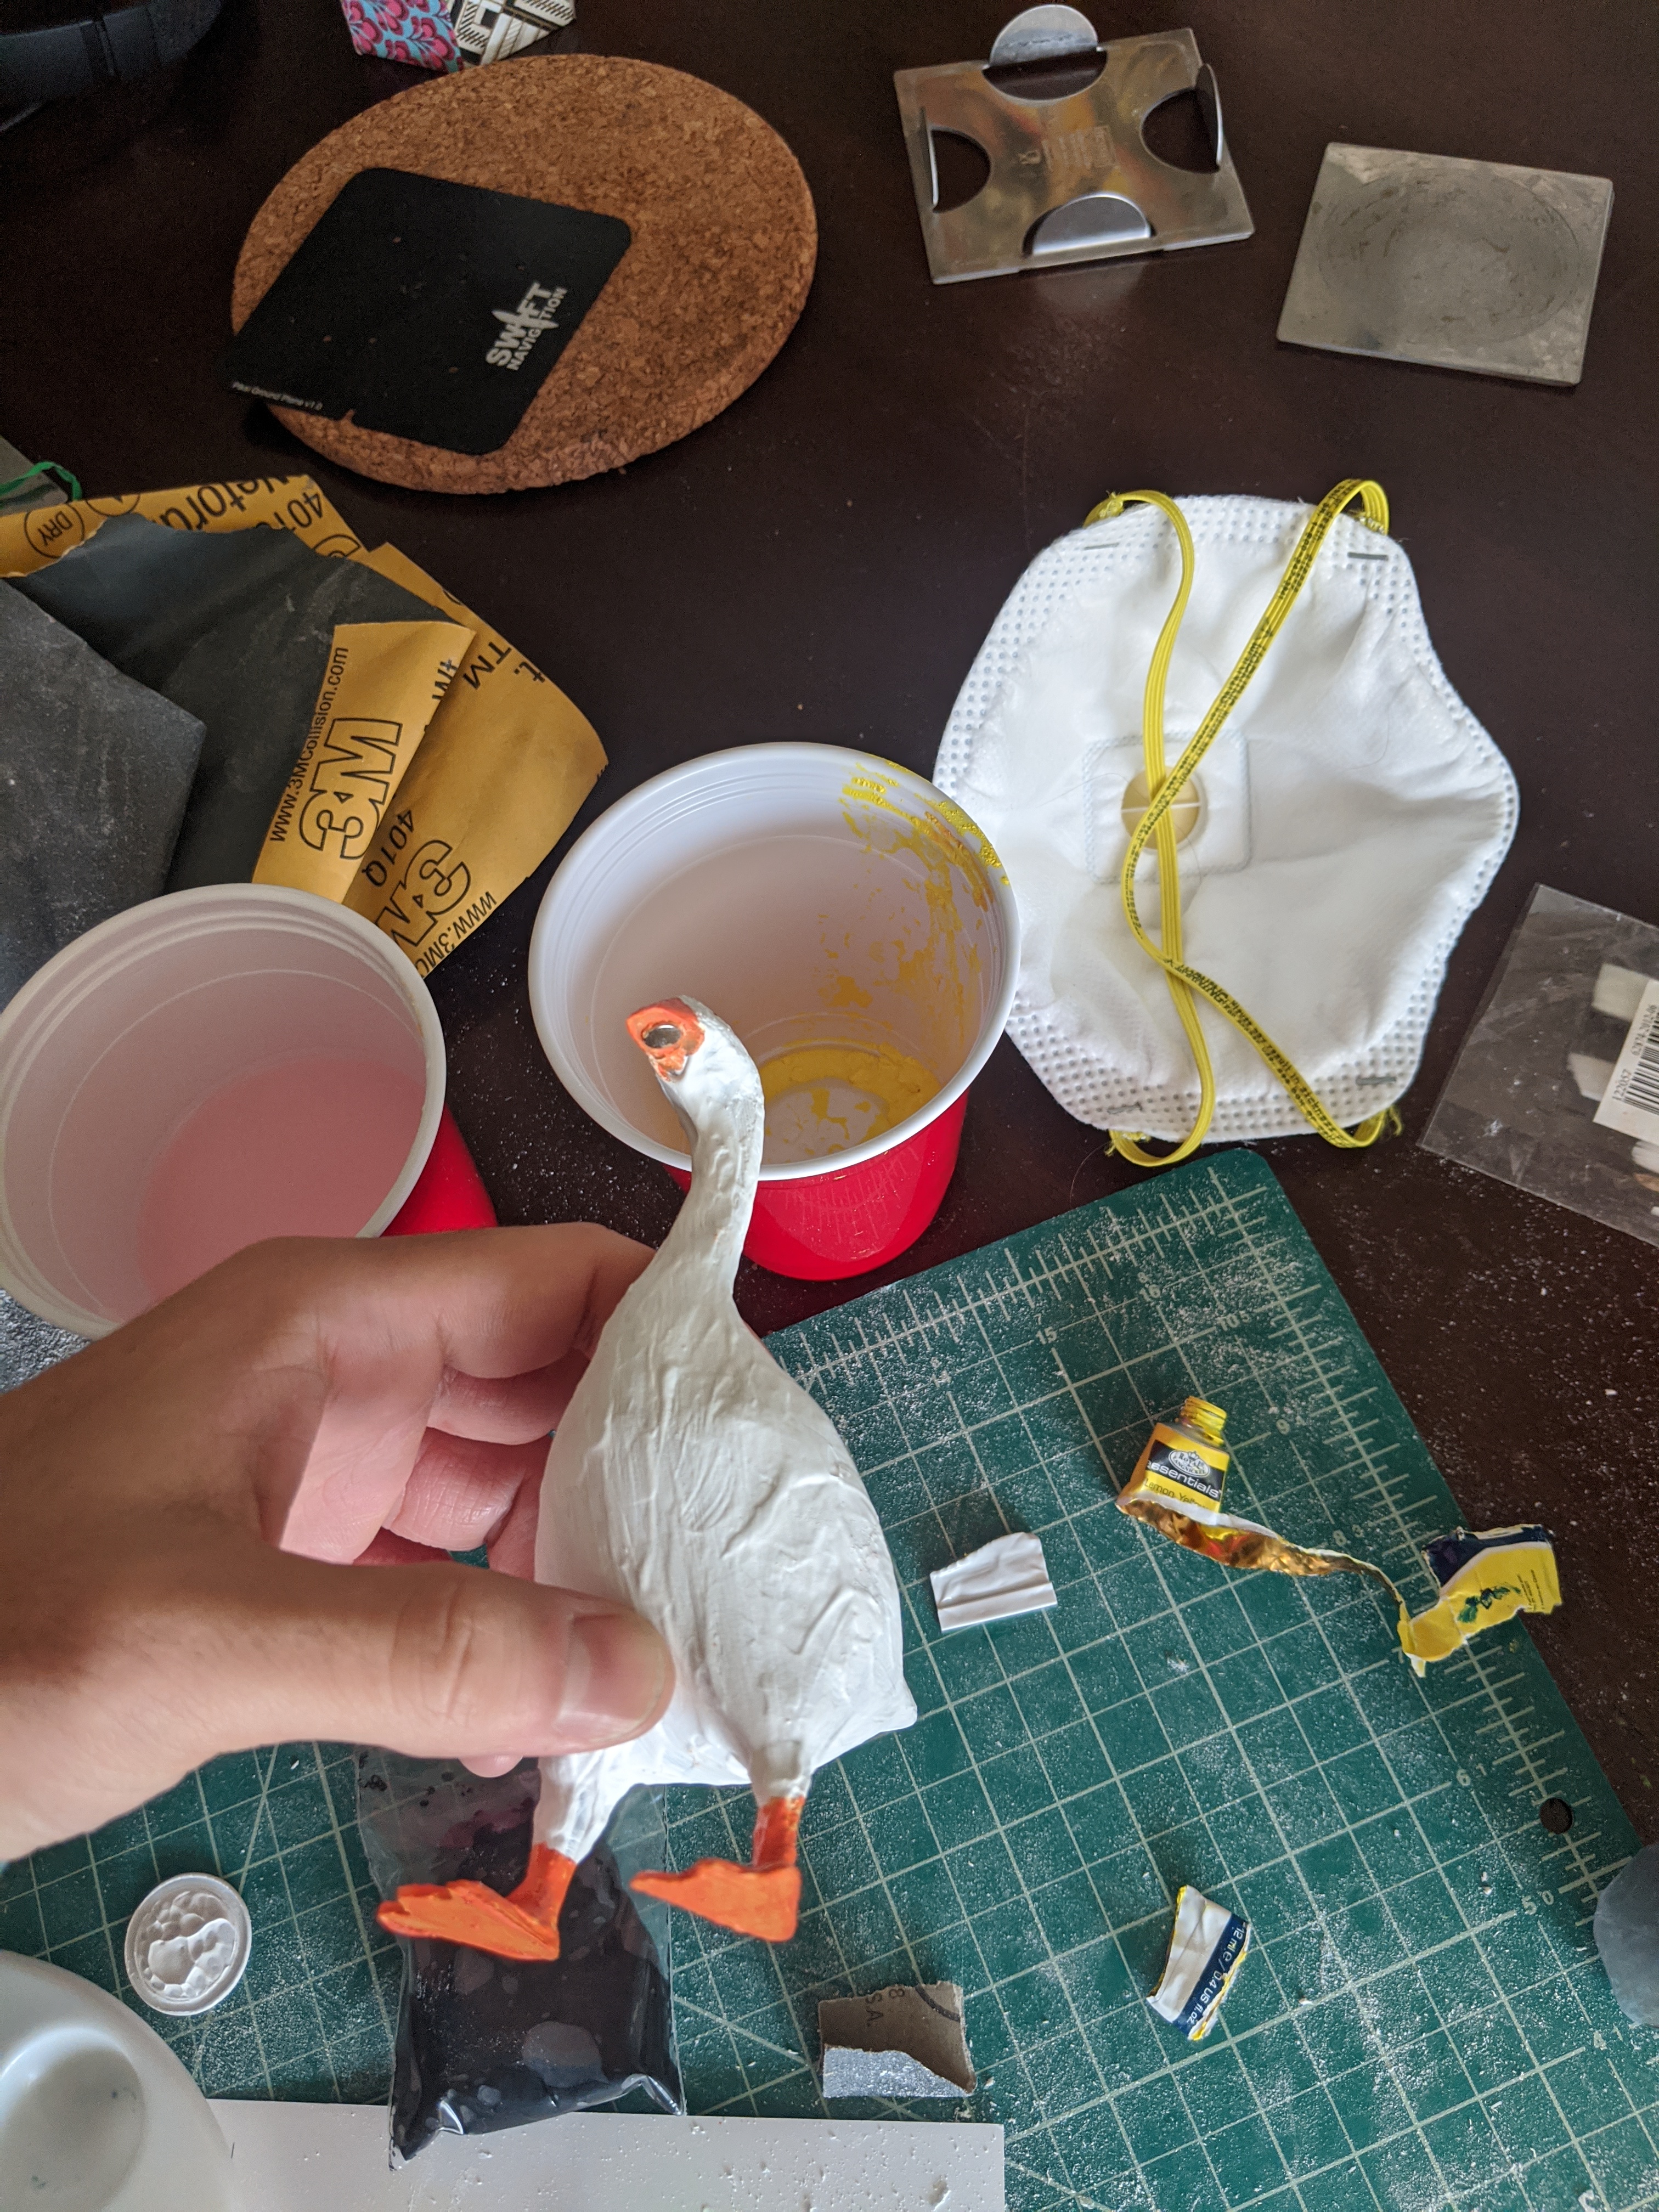
To confirm the printer was working I decided to make Entitled Goose from Untitled Goose Game . I did a little variation where to avoid needing a ton of scaffolding, I split the goose in two from top to bottom in TinkerCad (Left, Right)
The print went pretty well.
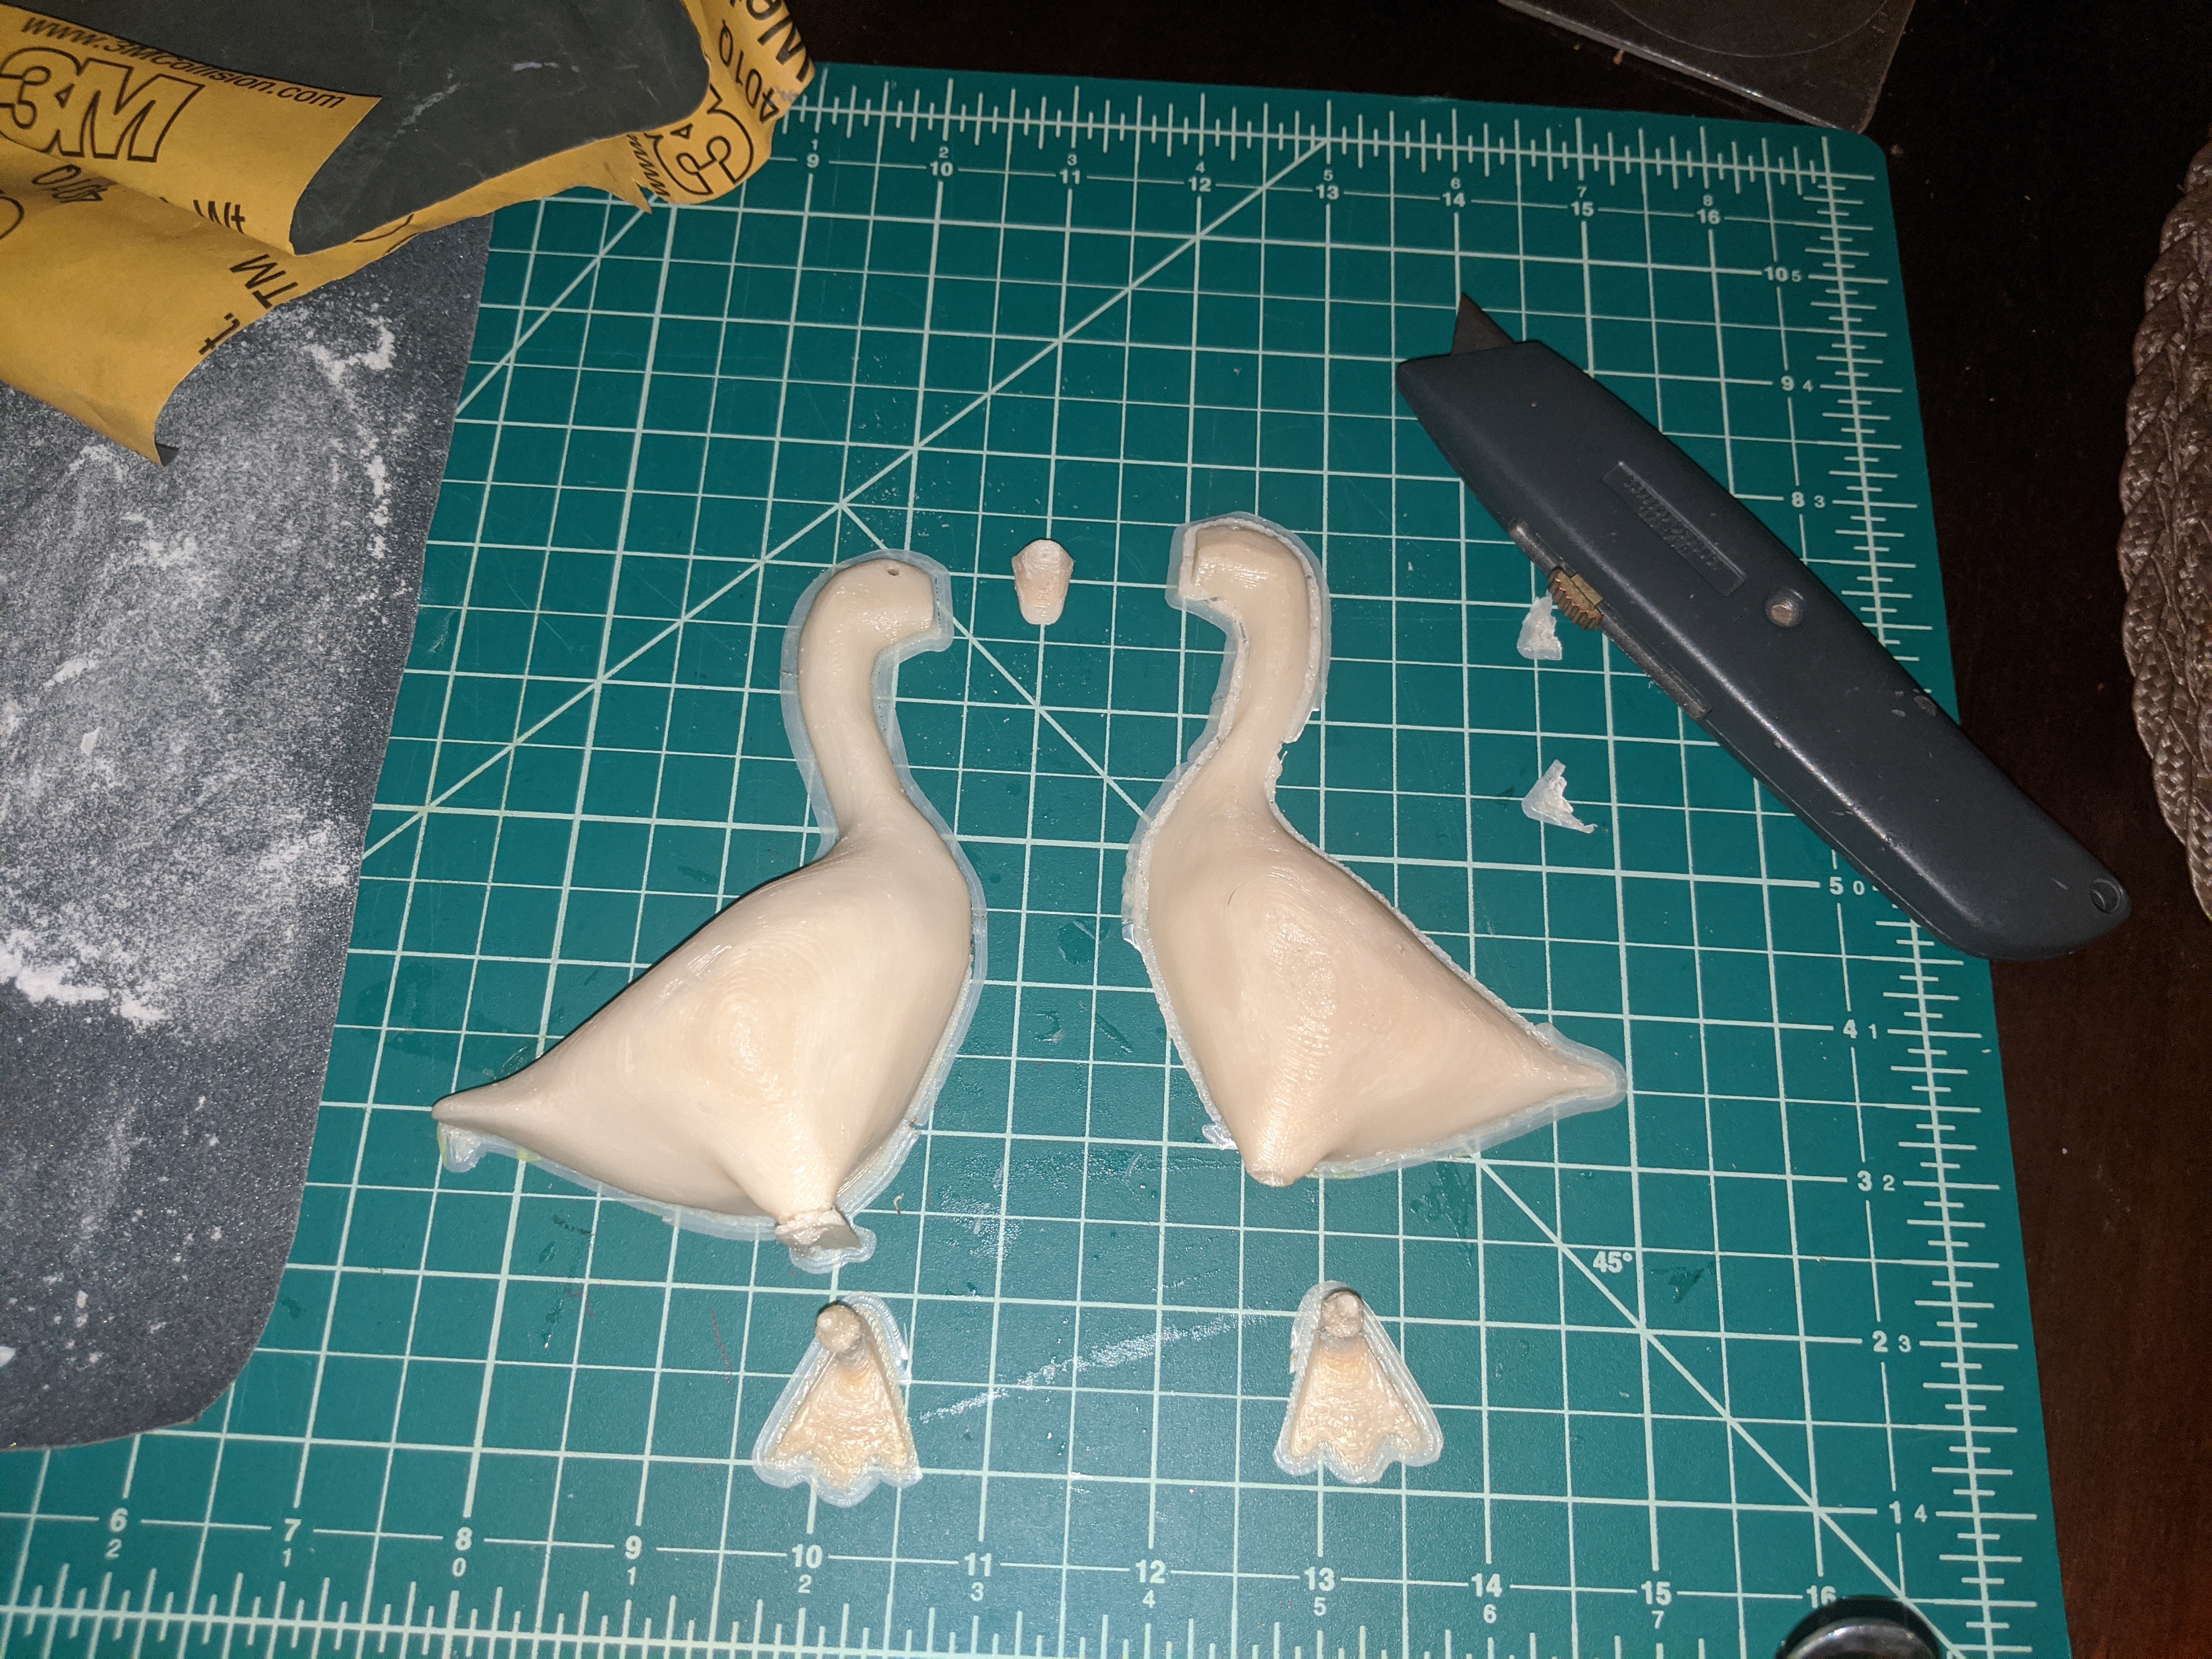
Removing the rafting and scaffolding was pretty rough though. In the future I should probably play with these settings to make it easier to remove. I had to spend a long time sanding to just get to the actual pieces.
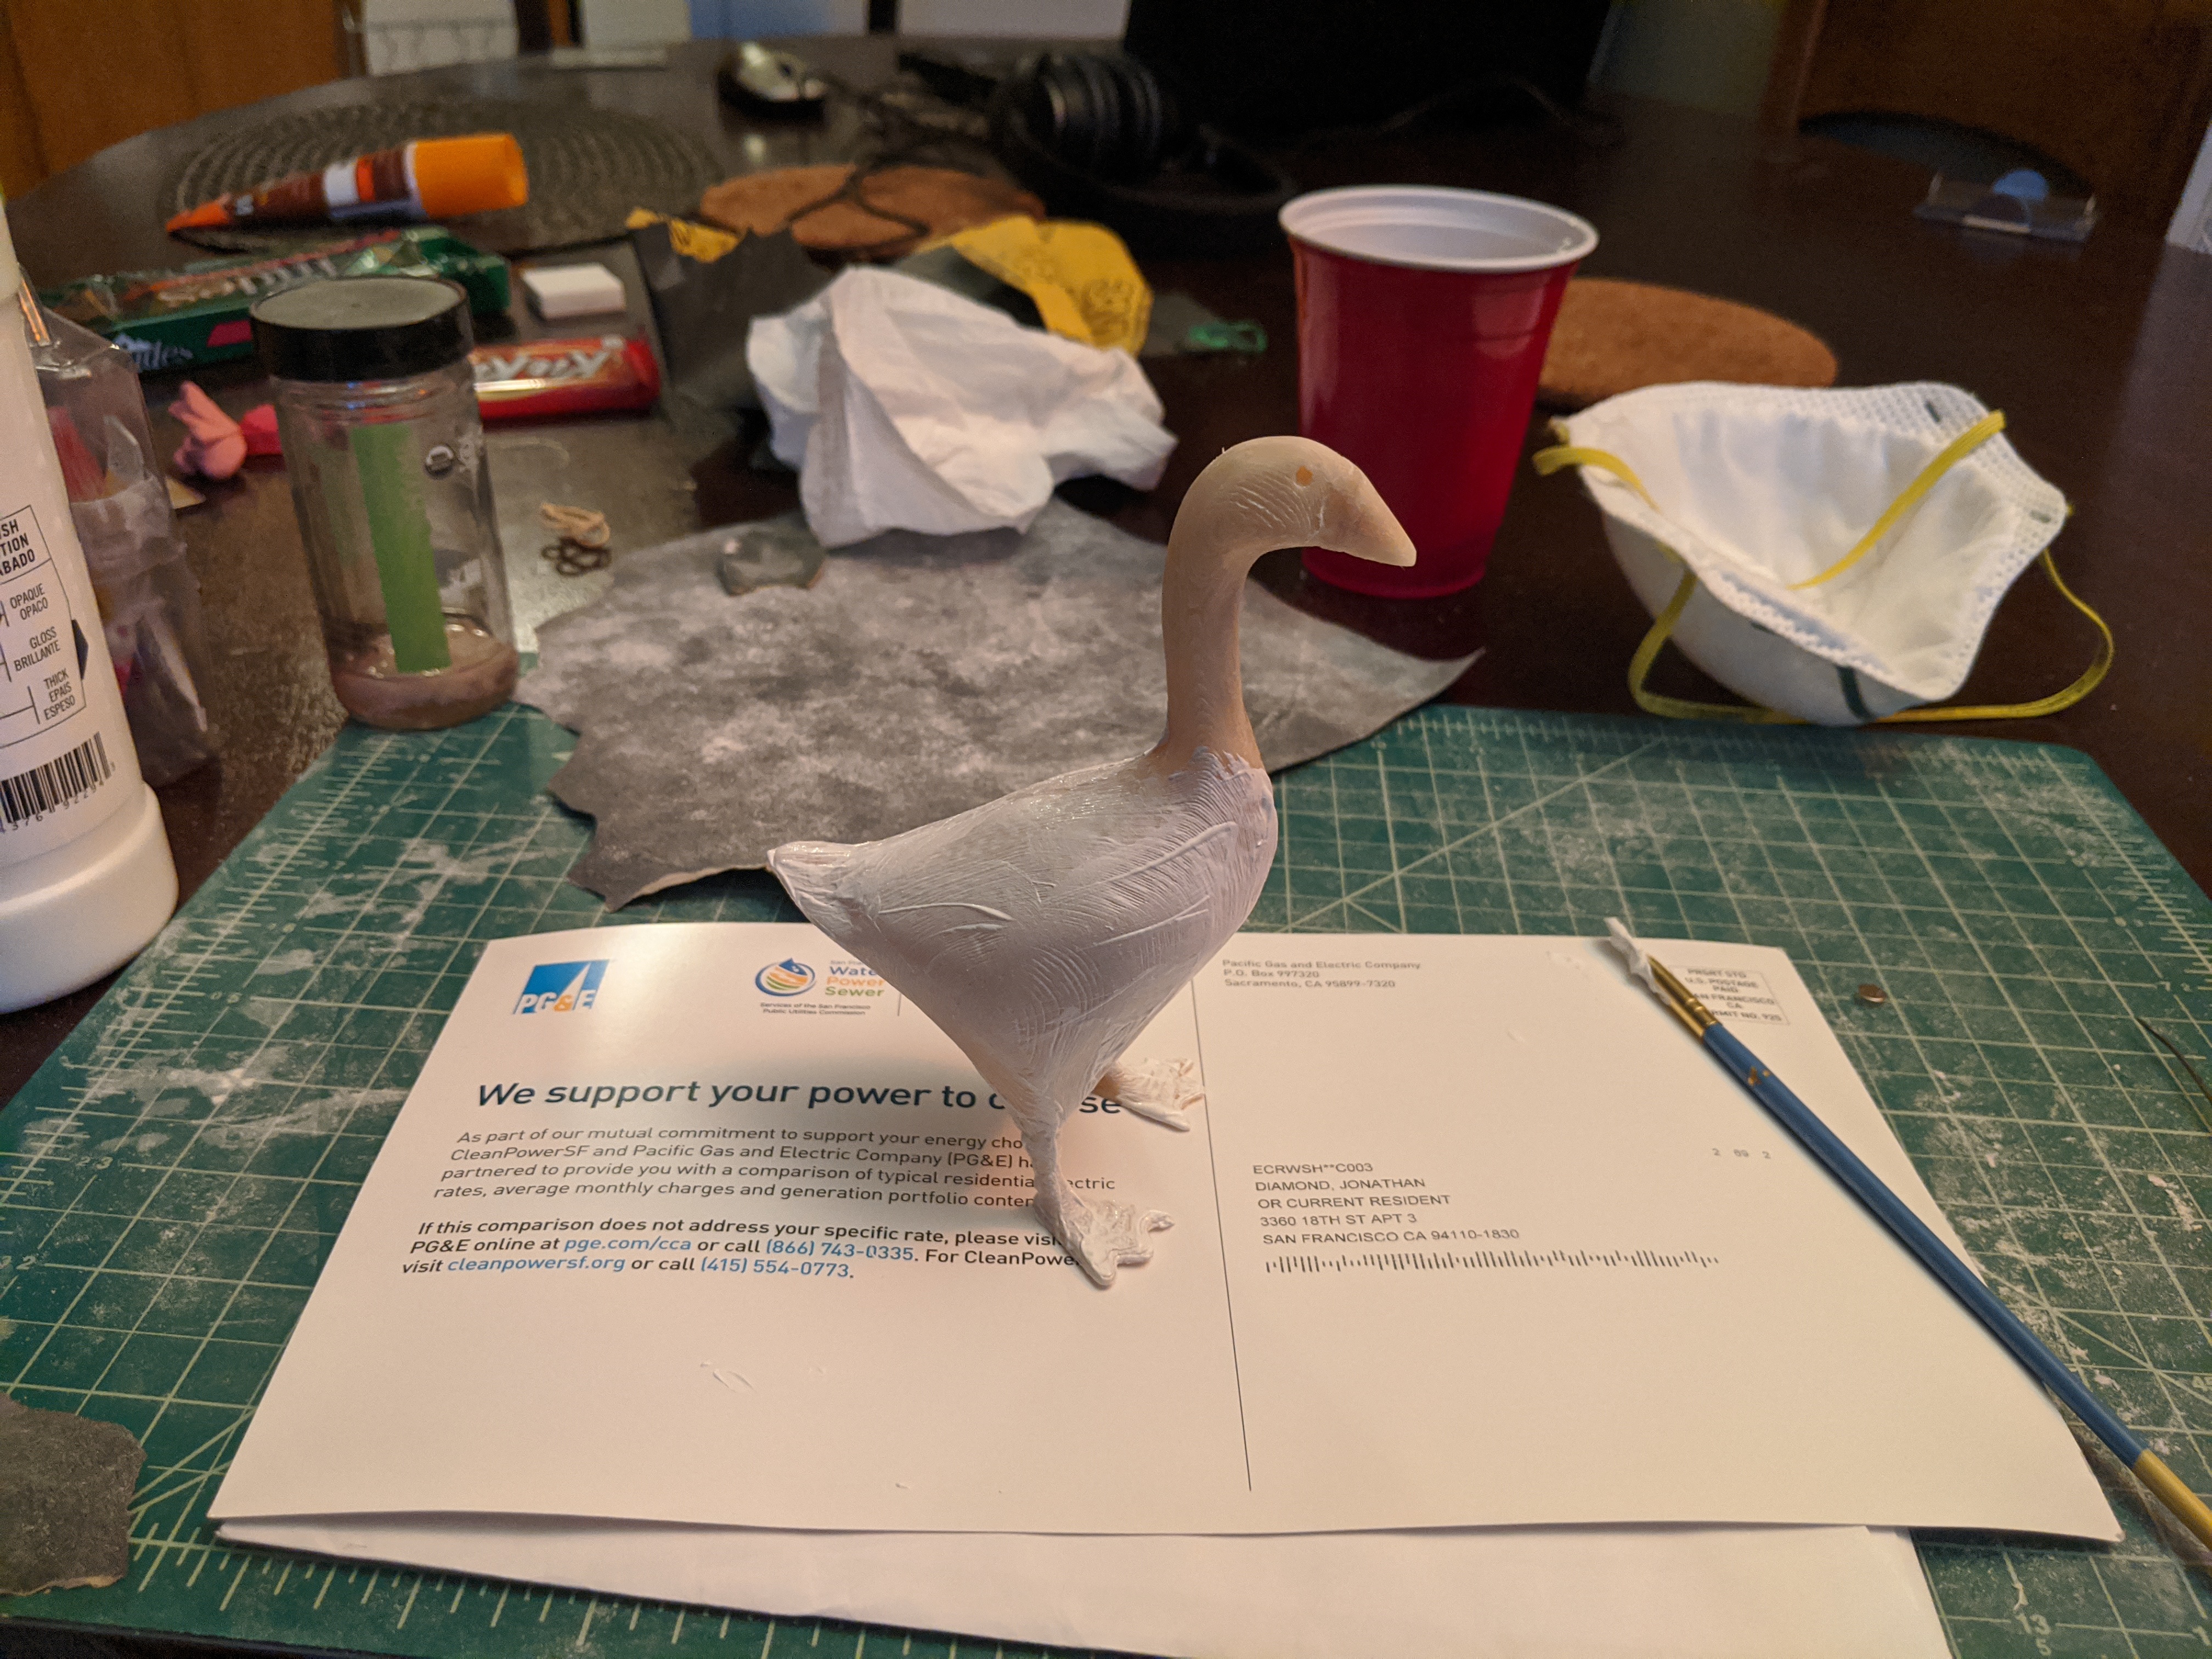
I had to decide how I wanted to fill in the cracks between the pieces. I decided to melt some of the ABS plastic in acetone to make a gooey slurry https://www.hoffman.engineering/tutorial/how-to-make-abs-juice-glue-and-slurry/. This worked pretty well, even if it ended up as more of a gum then a glue.
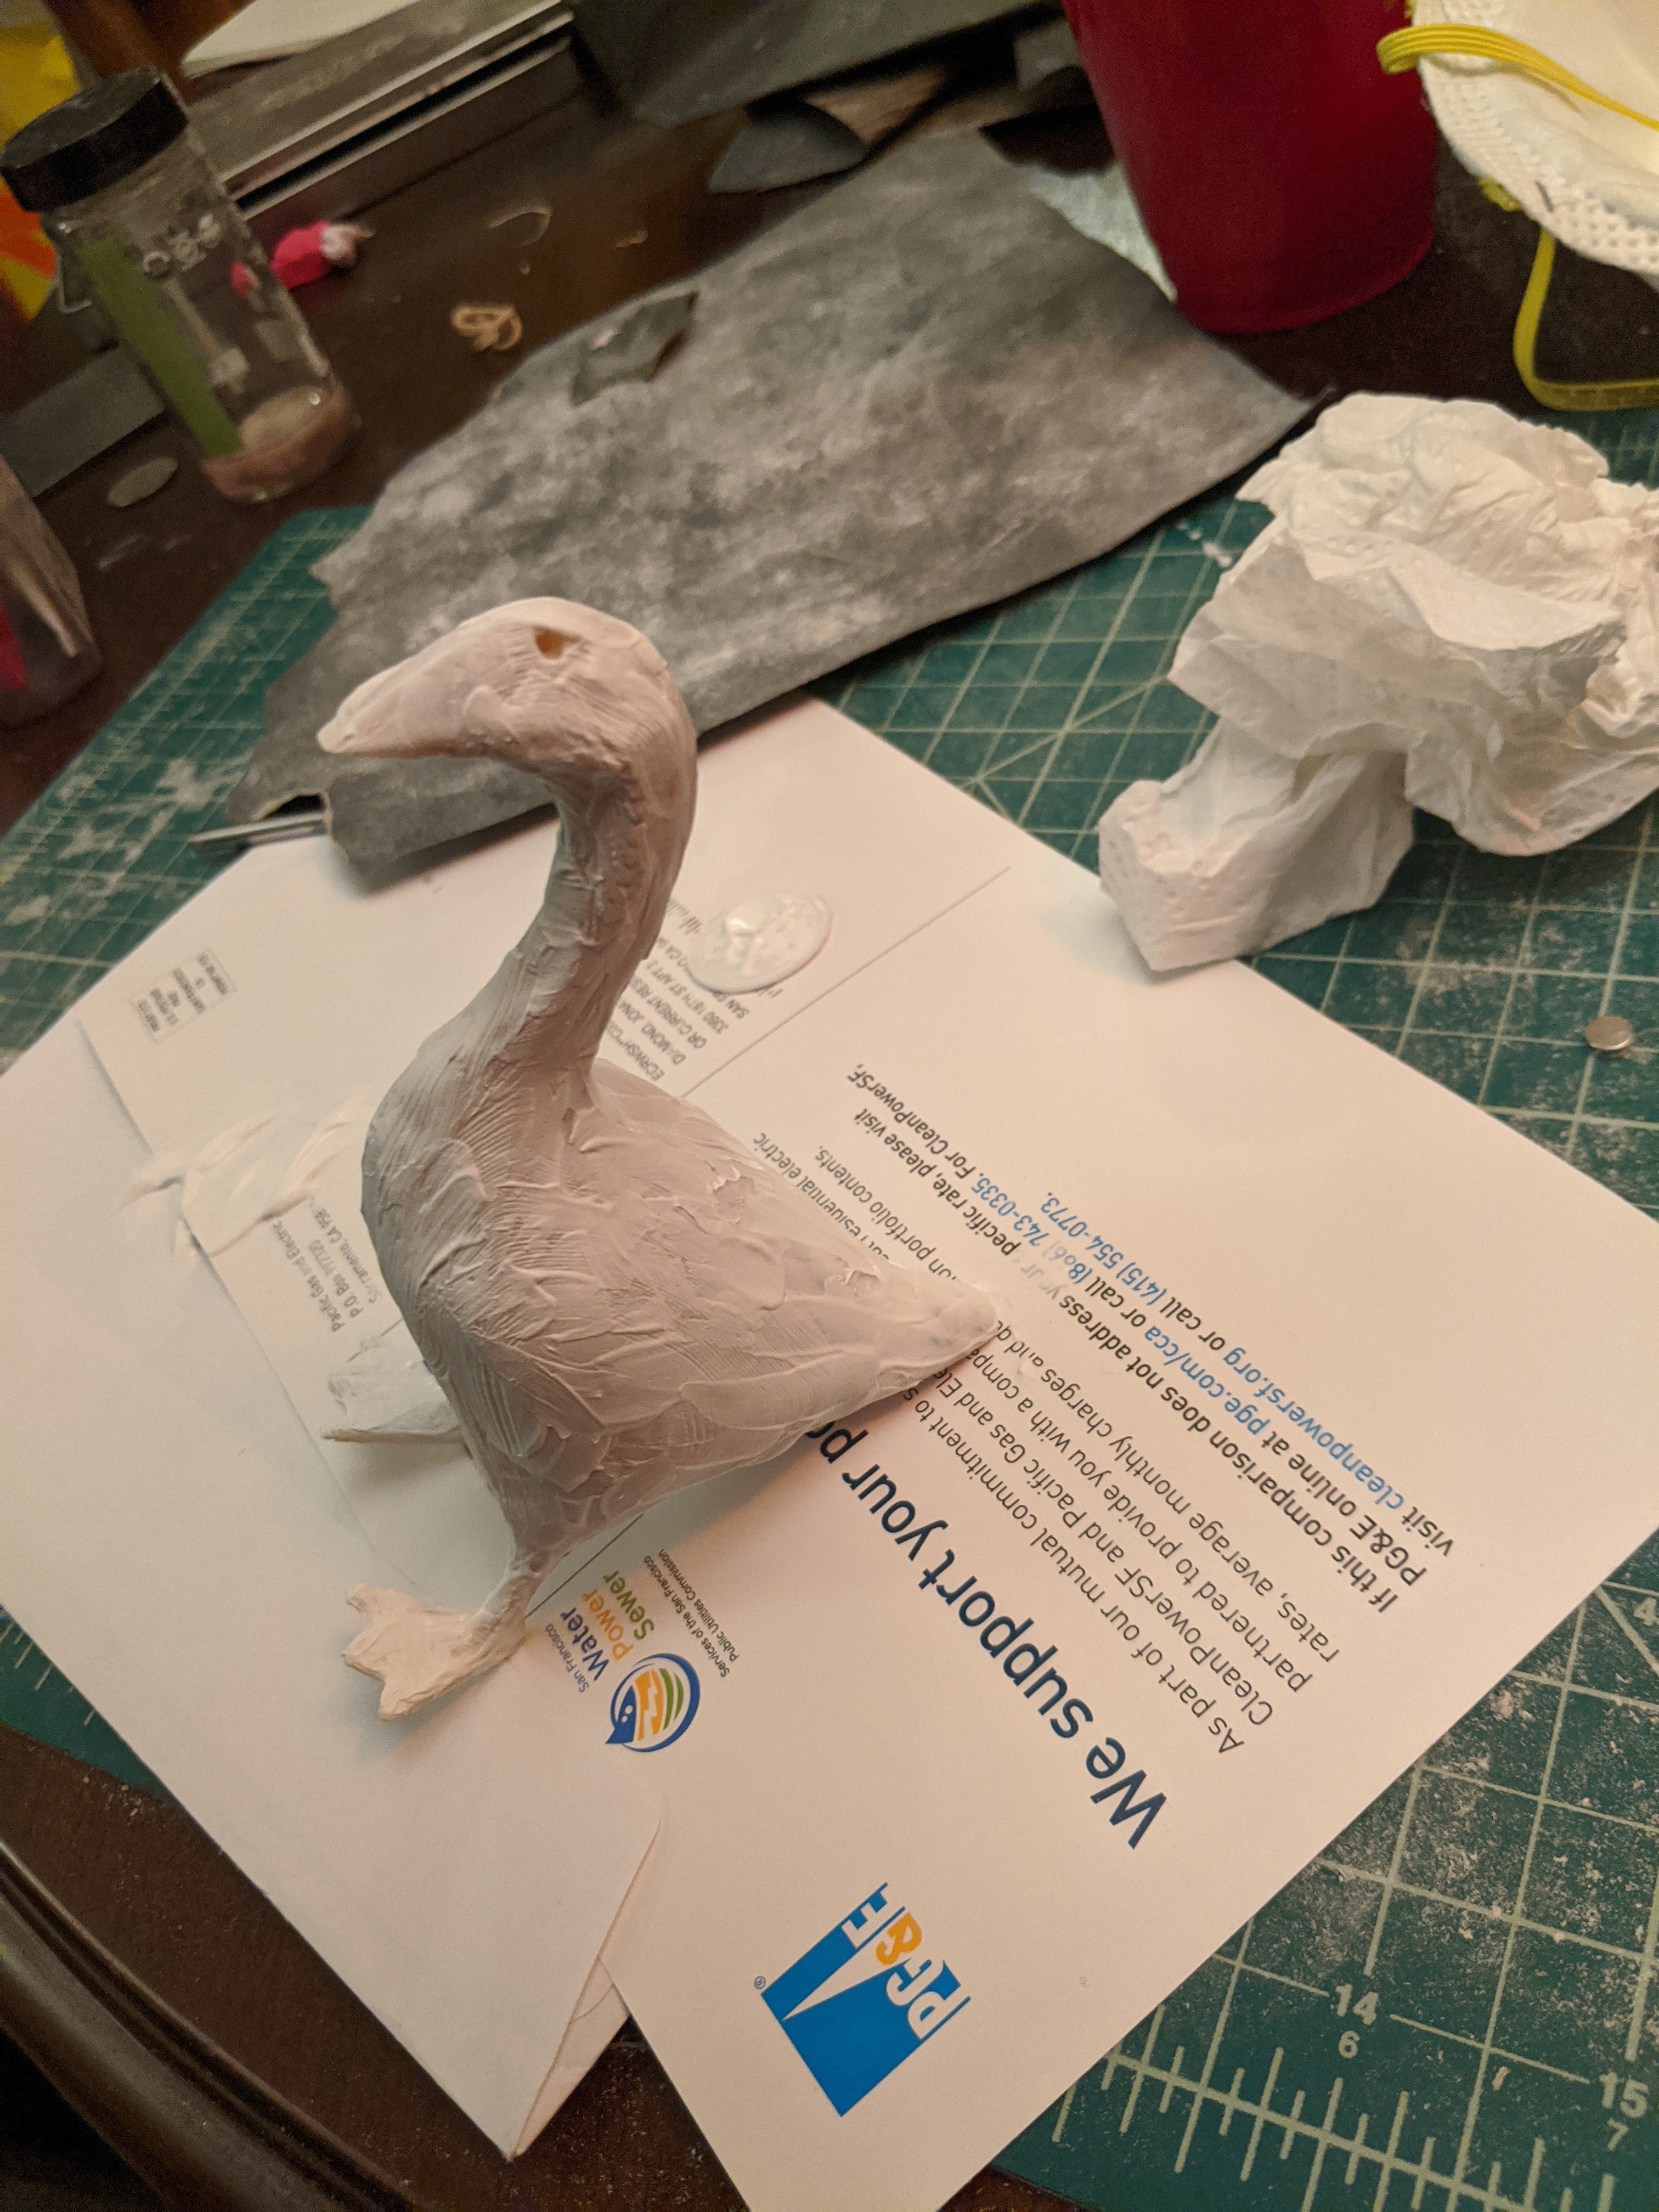
Next came painting. I went with a thick acrylic paint, and tried to really cake it on to hide the 3D printer layers. I thought I could more easily sand the paint afterwards. Turned out the paint was springy and hard to sand, so I ended up with a different weird texture on the goose.
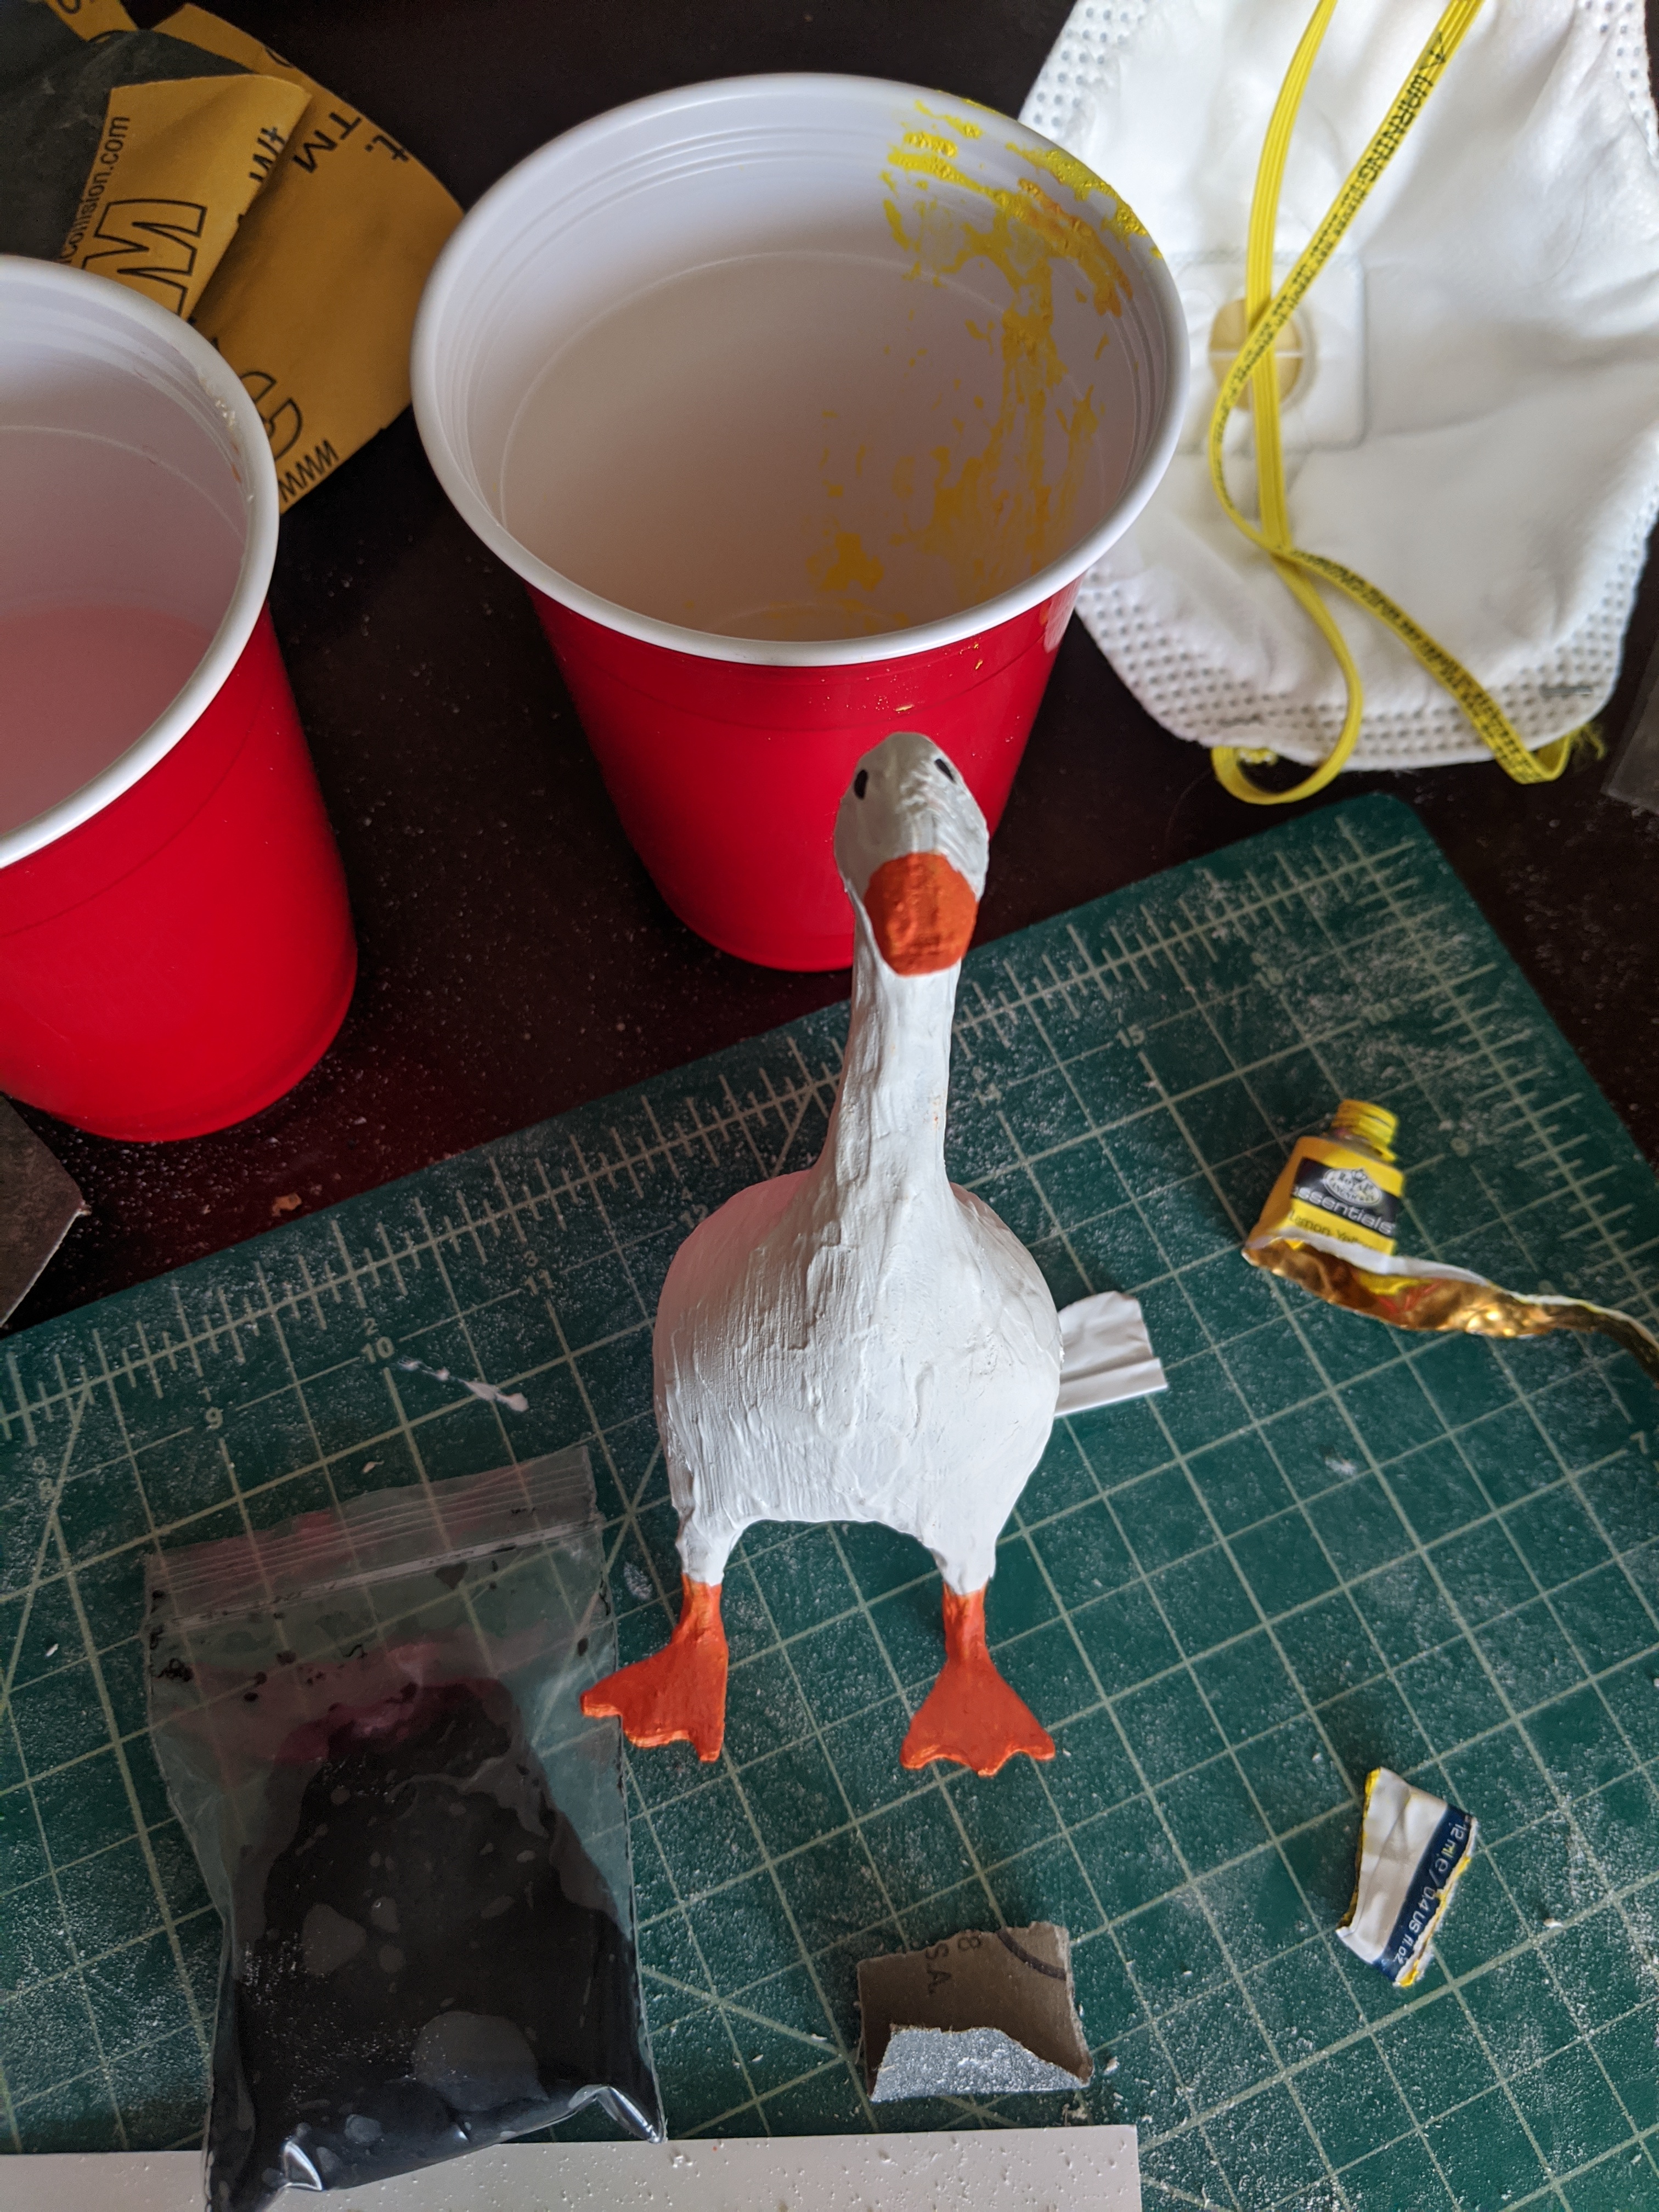
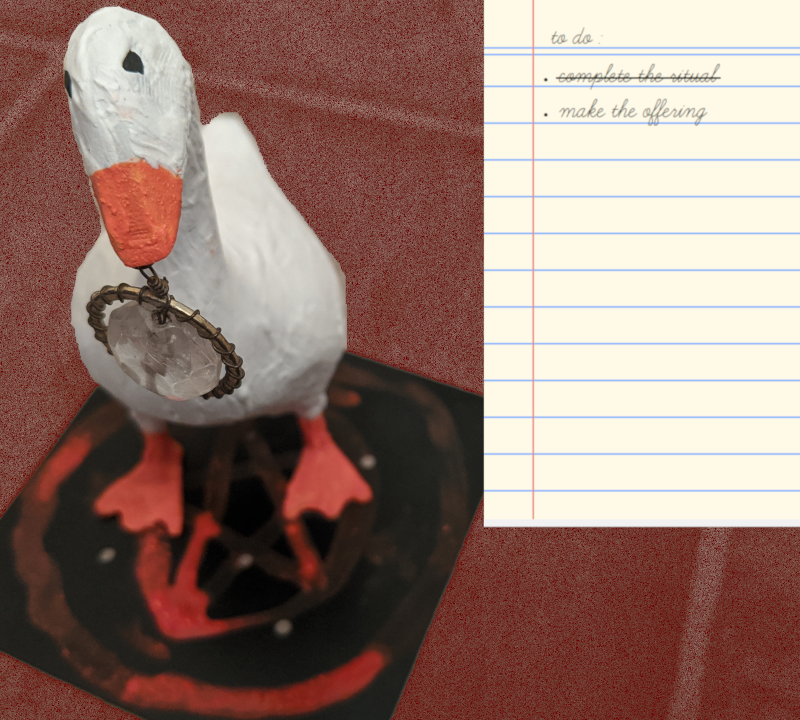
Adding a 6x2mm neodymium was the final touch. I used a dremel to make the hole, then super glued it in.
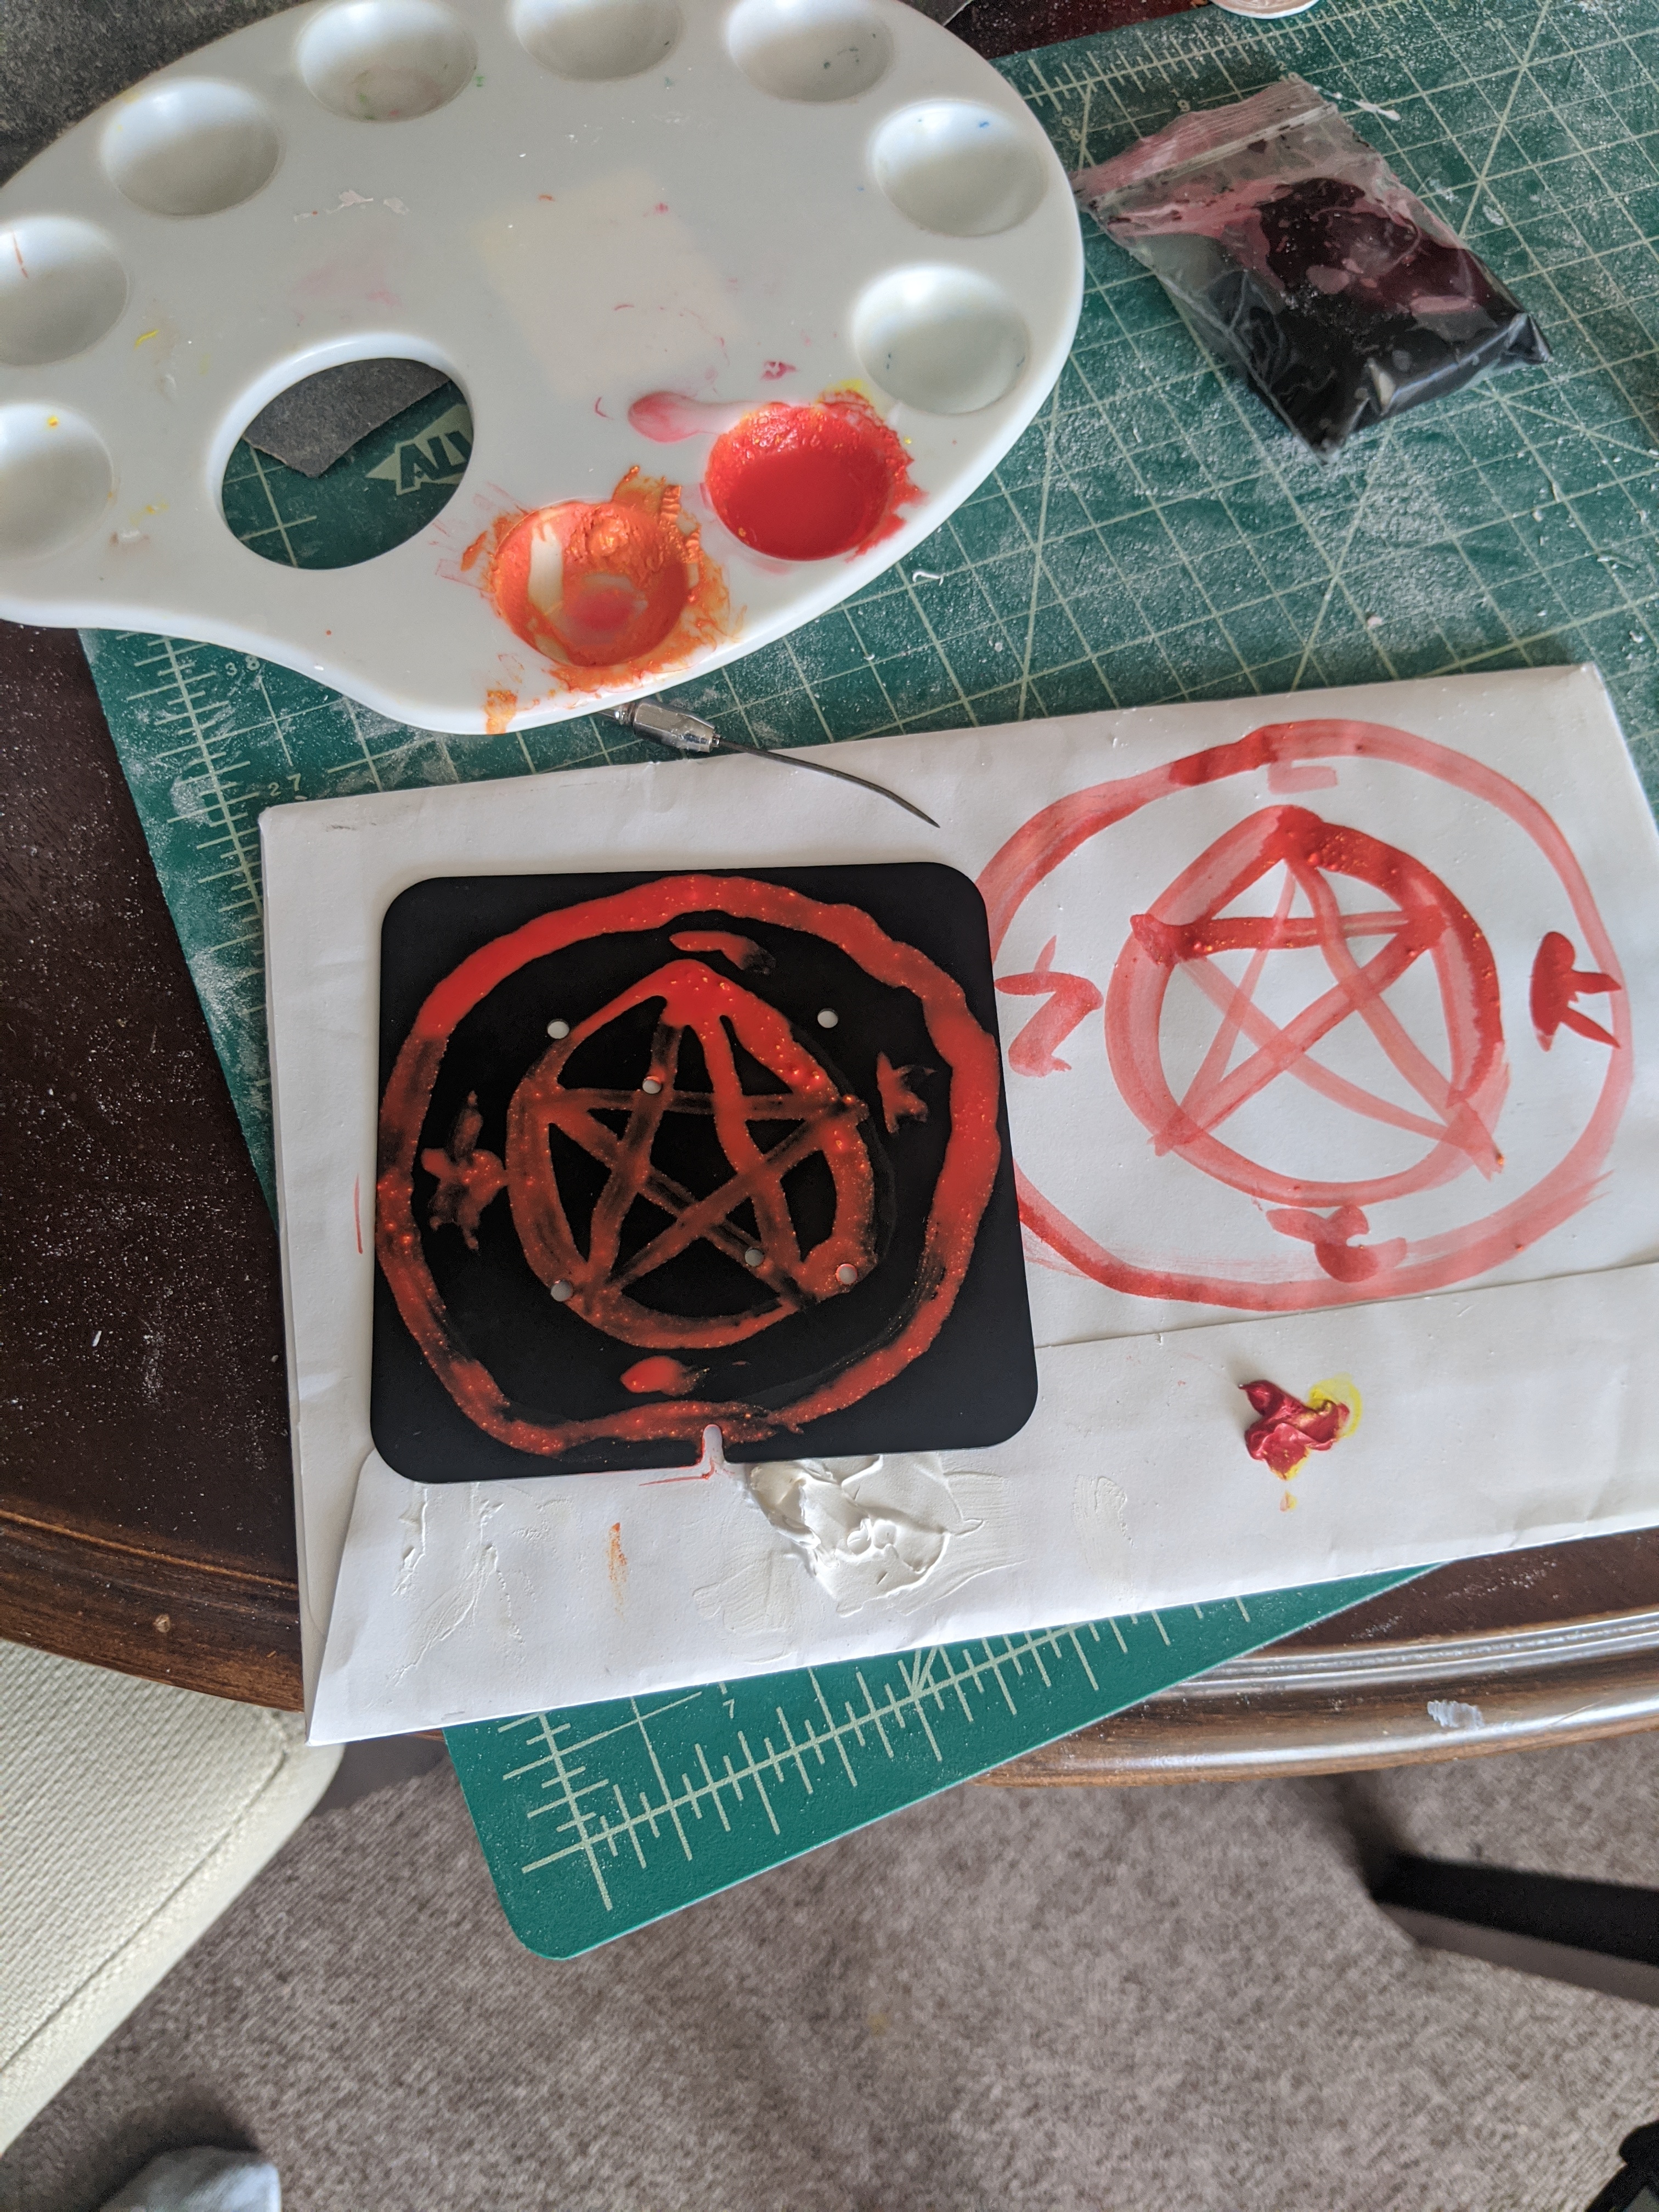
When fully assembled it didn’t balance very well, so I made a base for it. Since the goose is mischievous, I went with an occult style.