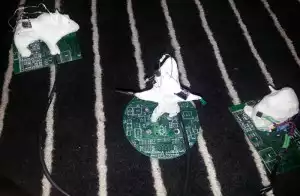
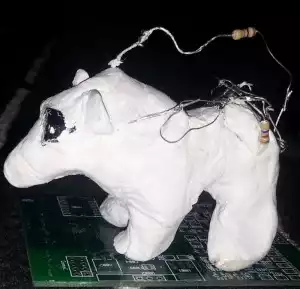
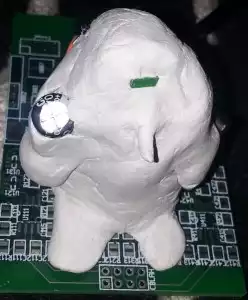
Blinky Statues
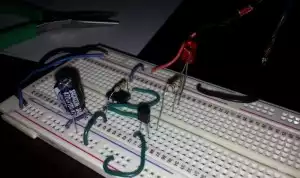
Over the holidays I wanted to come up with a simple project that could be somewhat streamlined for “mass production”. I’ve always liked working with clay and decided to make figurines with some circuitry embedded in them. Of course the circuit had to be functional , so I decided to go with a simple breathing LED controlled with a 555 timer.
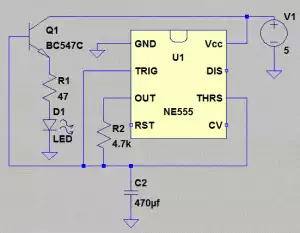
I’ve wanted to do a 555 timer project for awhile since they’re cheap and it’s been a long while since I’ve done a project with absolutely no programming. After looking at a few circuits online and messing around with the parts that I had on hand I ended up making the following schematic:
The parts list is:
- R1 – 47 ohm resistor
- R2 – 4700 ohm resistor
- C2 – 470 micro-farad capacitor
- U1 – 555 timer
- Q1 – BC547C NPN transistor
- D1 – an LED
- V1 – a 5 volt power source. I made some figures powered by 5V wall warts, and others I made USB powered.
Here’s a video of it in action
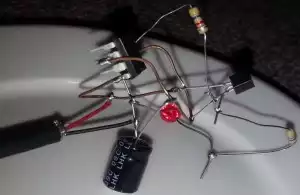
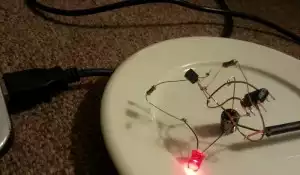
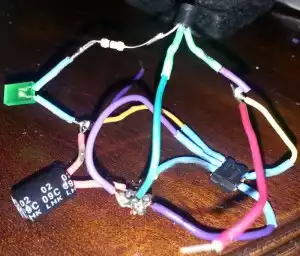
Once the circuit was tested and working I had to figure out how to stick it into a clay figure. As I saw it there were two options. I could build the circuit and then cover it in clay, or I could build the clay figure and then stick the components into it. I ended up having better luck building the circuit first, since it was easier to test that it was working before sticking it in the clay. To do this I soldered all the components together “dead bug style”. This entails soldering the components together without using any sort of circuit board as a base. Here are a few examples:
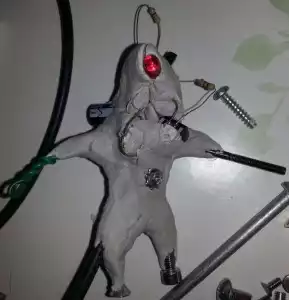
I then built the clay figures around these circuits taking care not to short anything. I used a cheap skulpty like material that dried in air without the need for a kiln. Initially, I found that the circuits would stop working when encased in clay. It appears that the wet clay is a weak conductor, and that these “shorts” were enough to prevent the circuits from functioning correctly. I even tried to encase the entire circuit in heat shrink and insulation, but not even that worked.
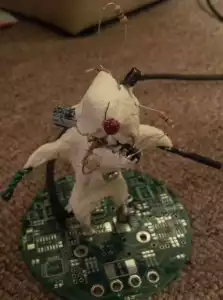
It turned out that I just needed to be patient, after waiting about a week the clay dried and my figures worked perfectly. Here are a few more pictures and videos of the results.
