Laser Engraving Wooden Boxes
I recycled some wooden boxes into card organizers. Mostly an effort in making art suitable for the laser cutter .
My wife’s company delivered some swag in wooden boxes. Since they weren’t super useful for anything I was able to get a bunch from her coworkers. I figured there’s plenty of things I could do with them.
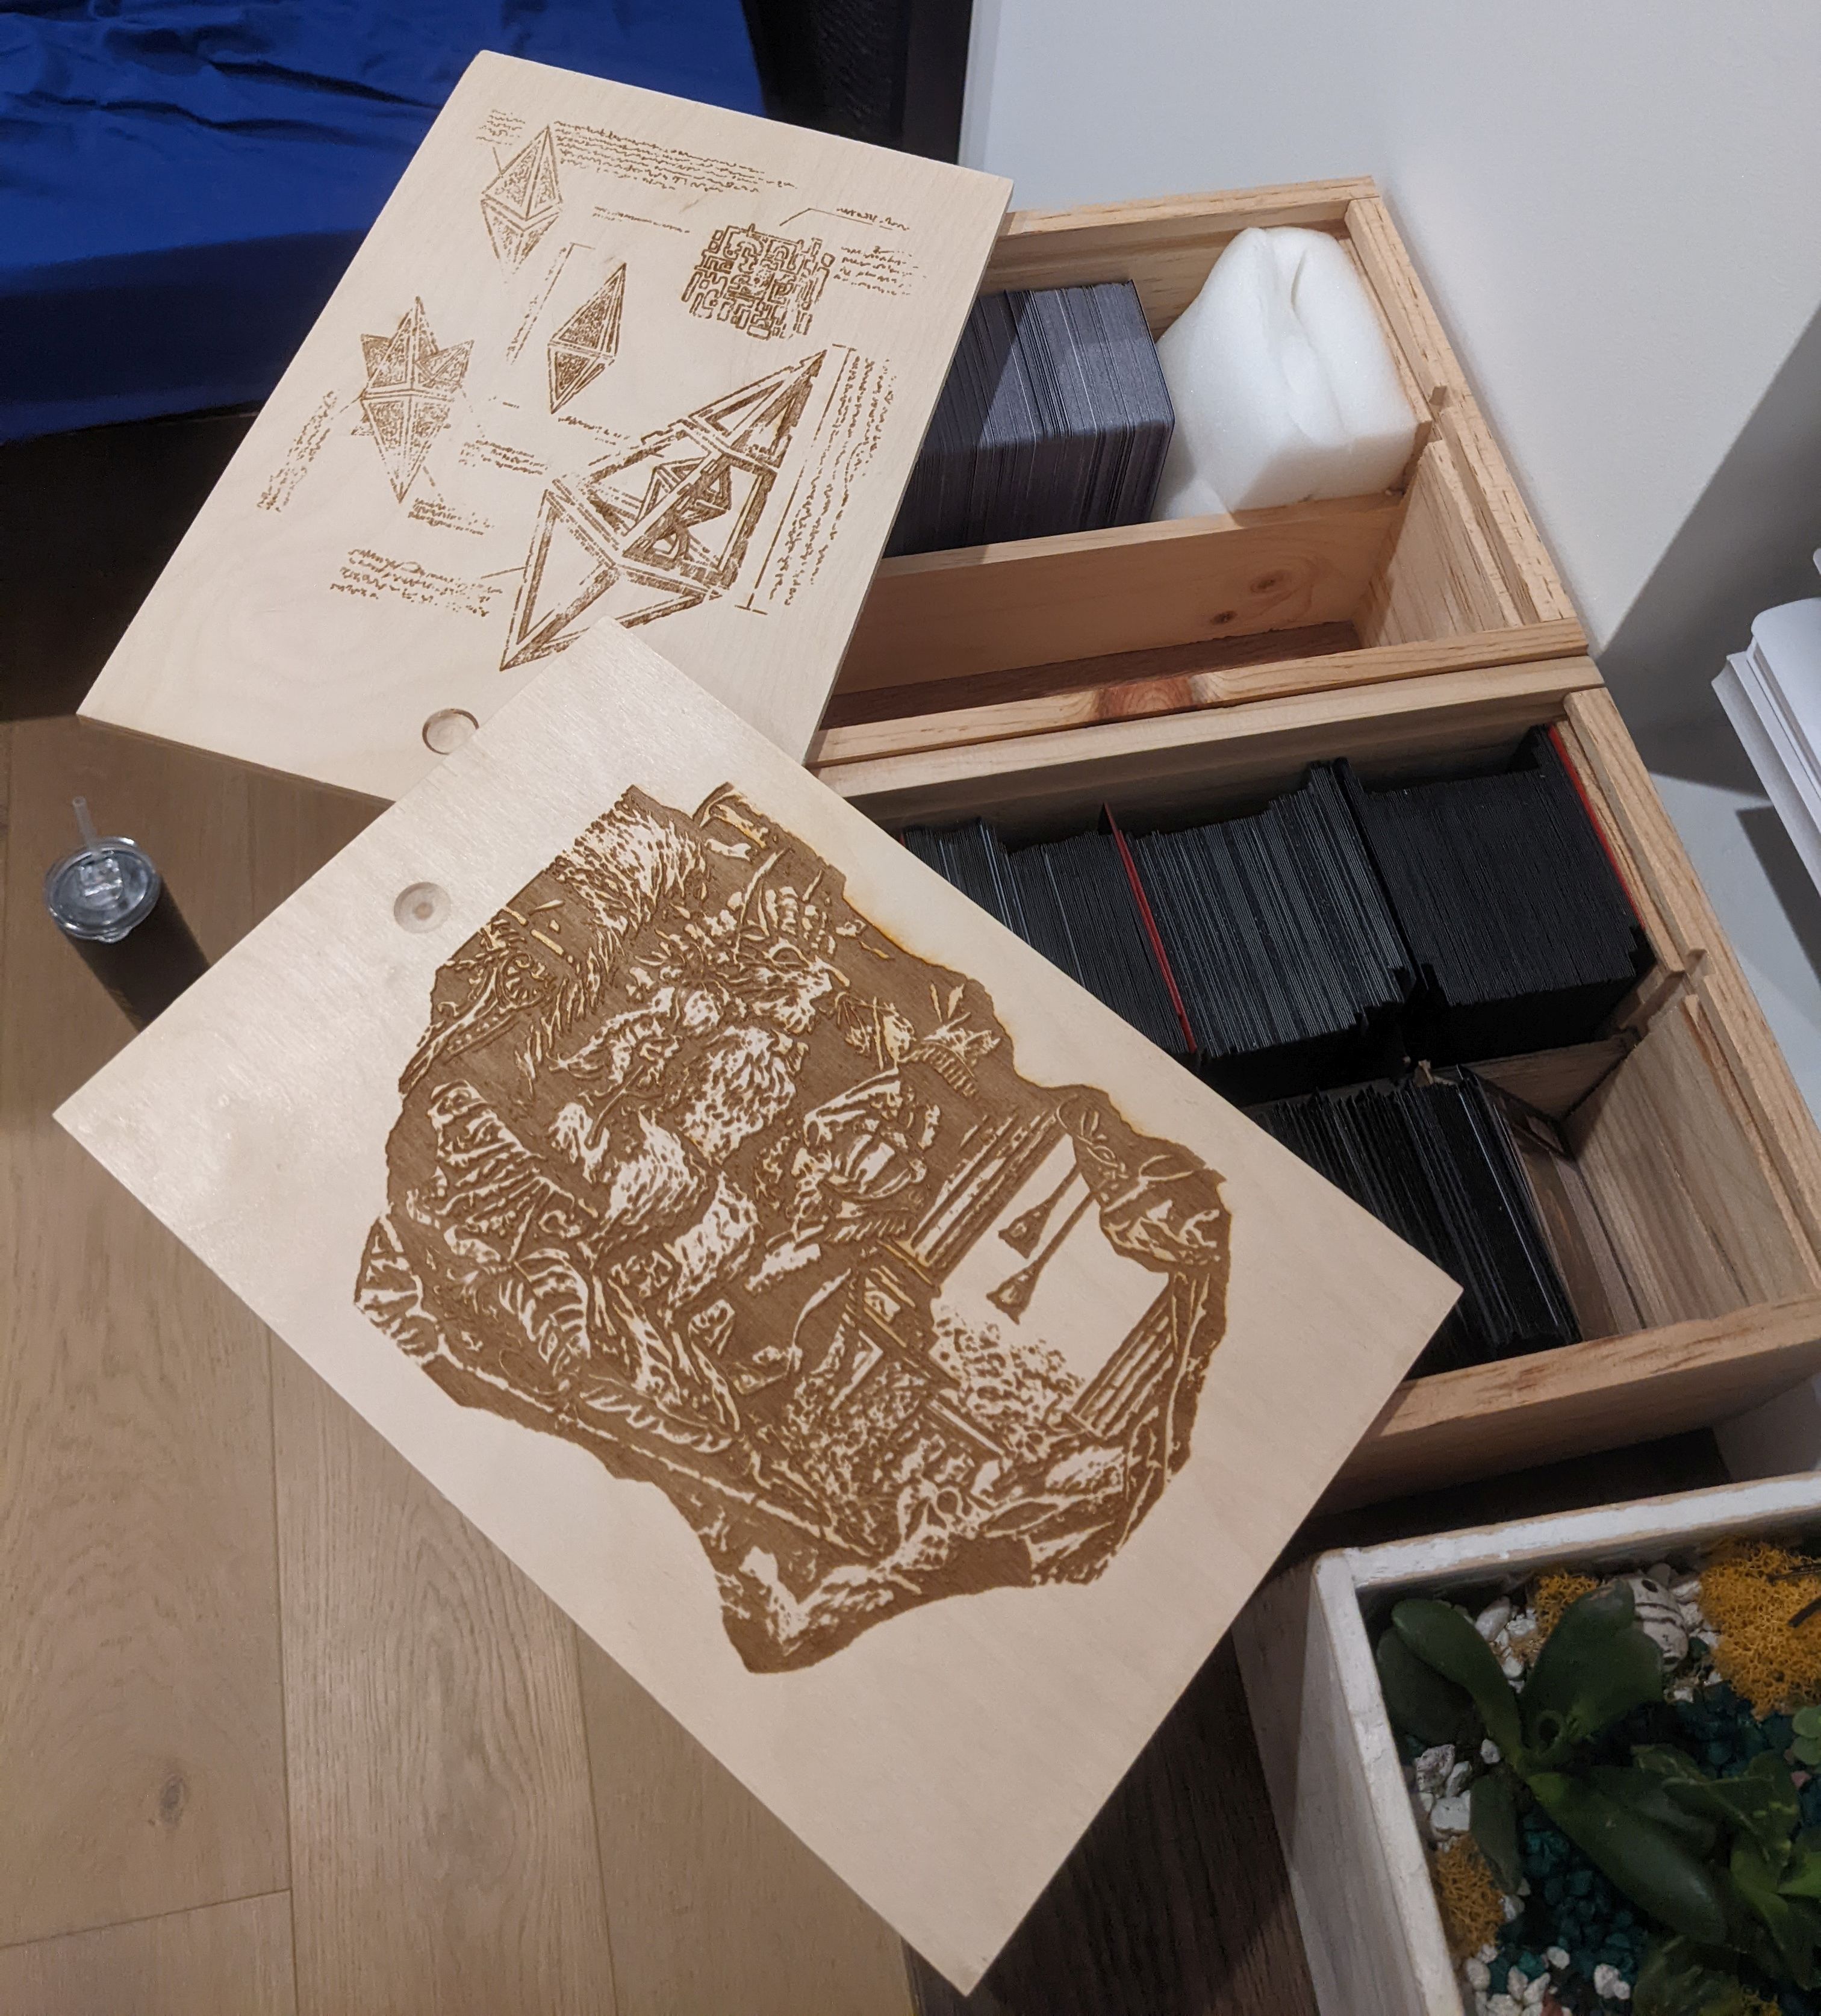
Well, I finally got a chance to decorate a pair to use for card storage as a quick project.
When I’m picking art for laser engraving, there’s an initial question I need to answer. Do I want to use vector art, or raster art?
- Vector art is able to be specified as lines an curves. The laser just follows the paths to make the image.
- Raster art is your typical pixel image (jpg, png, etc.). The laser has to act like a more typical printer burning the image line by line.
I usually go with vector art since it’s much faster on the laser and typically looks cleaner. You are a bit more constrained in your images, but the program Inkscape has a tracing feature to make vectors out of raster images. The one trick is that the cutter can only trace the lines, not the fill. This means you often need to switch to centerline tracing if you don’t want all the lines to be doubled.
Initially, I thought about going with a set of vector images for my commander decks:

In the end, I decided instead to go with a set of images that weren’t suitable for tracing.
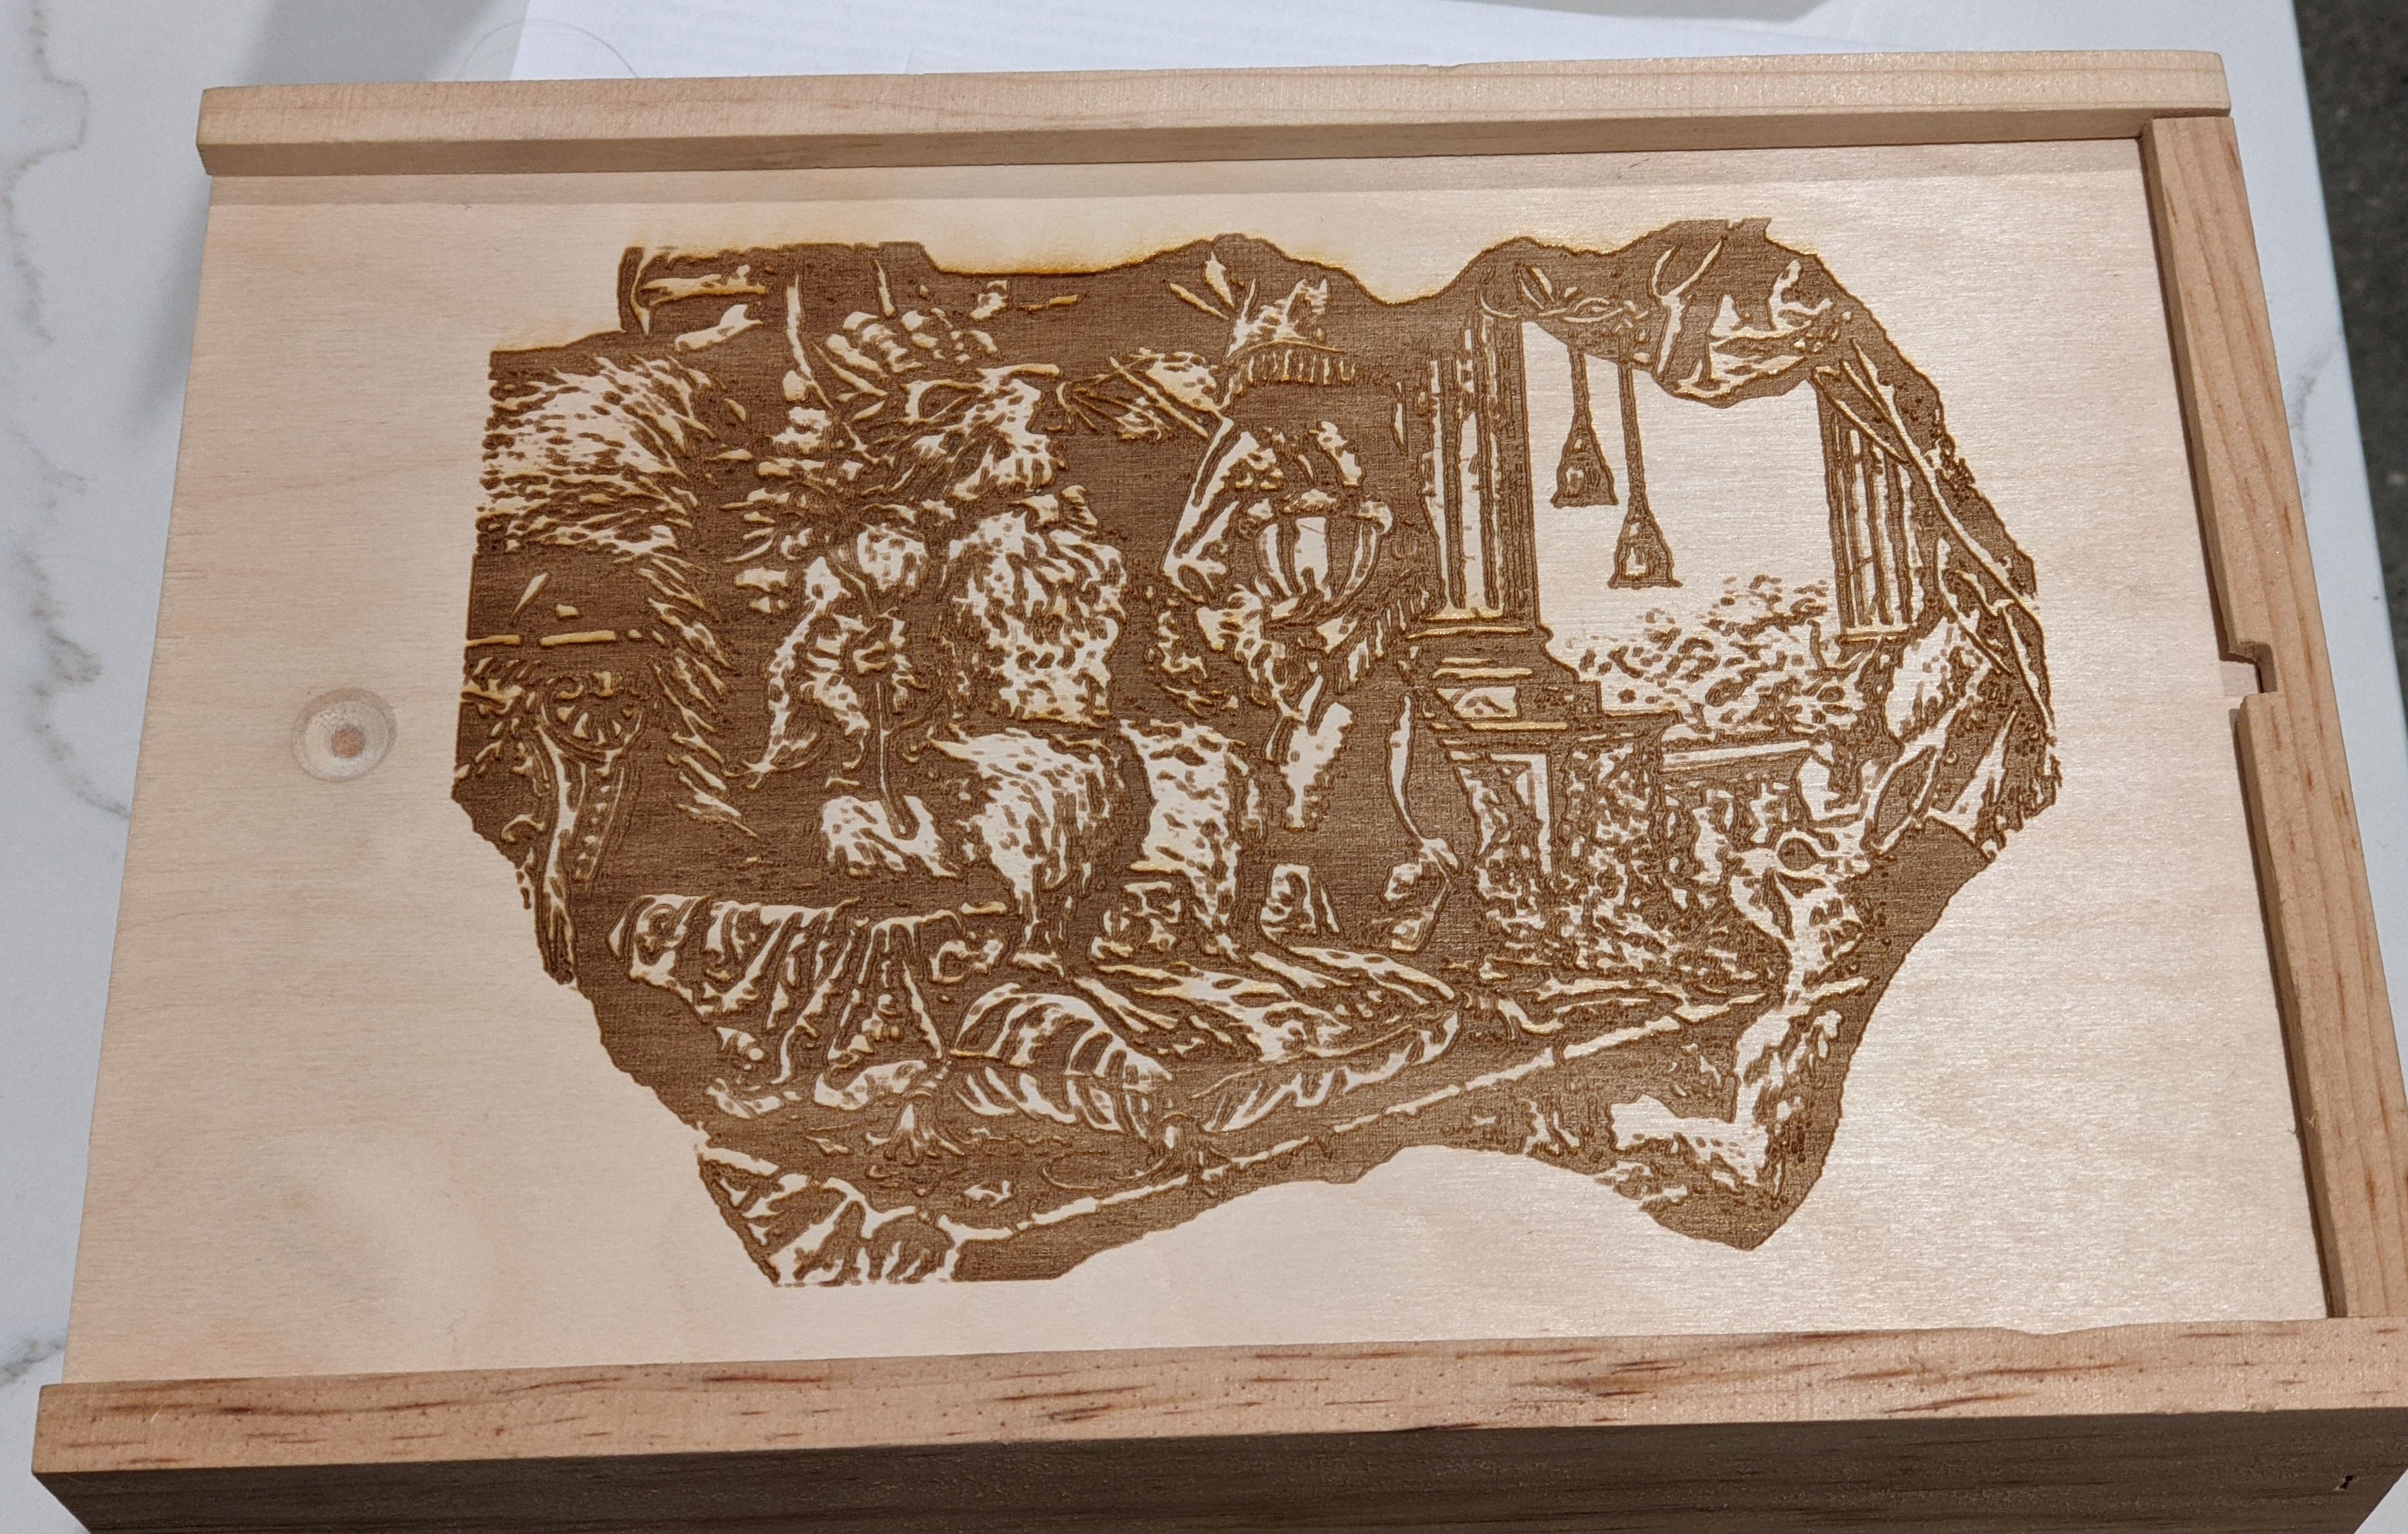
The art from this card:

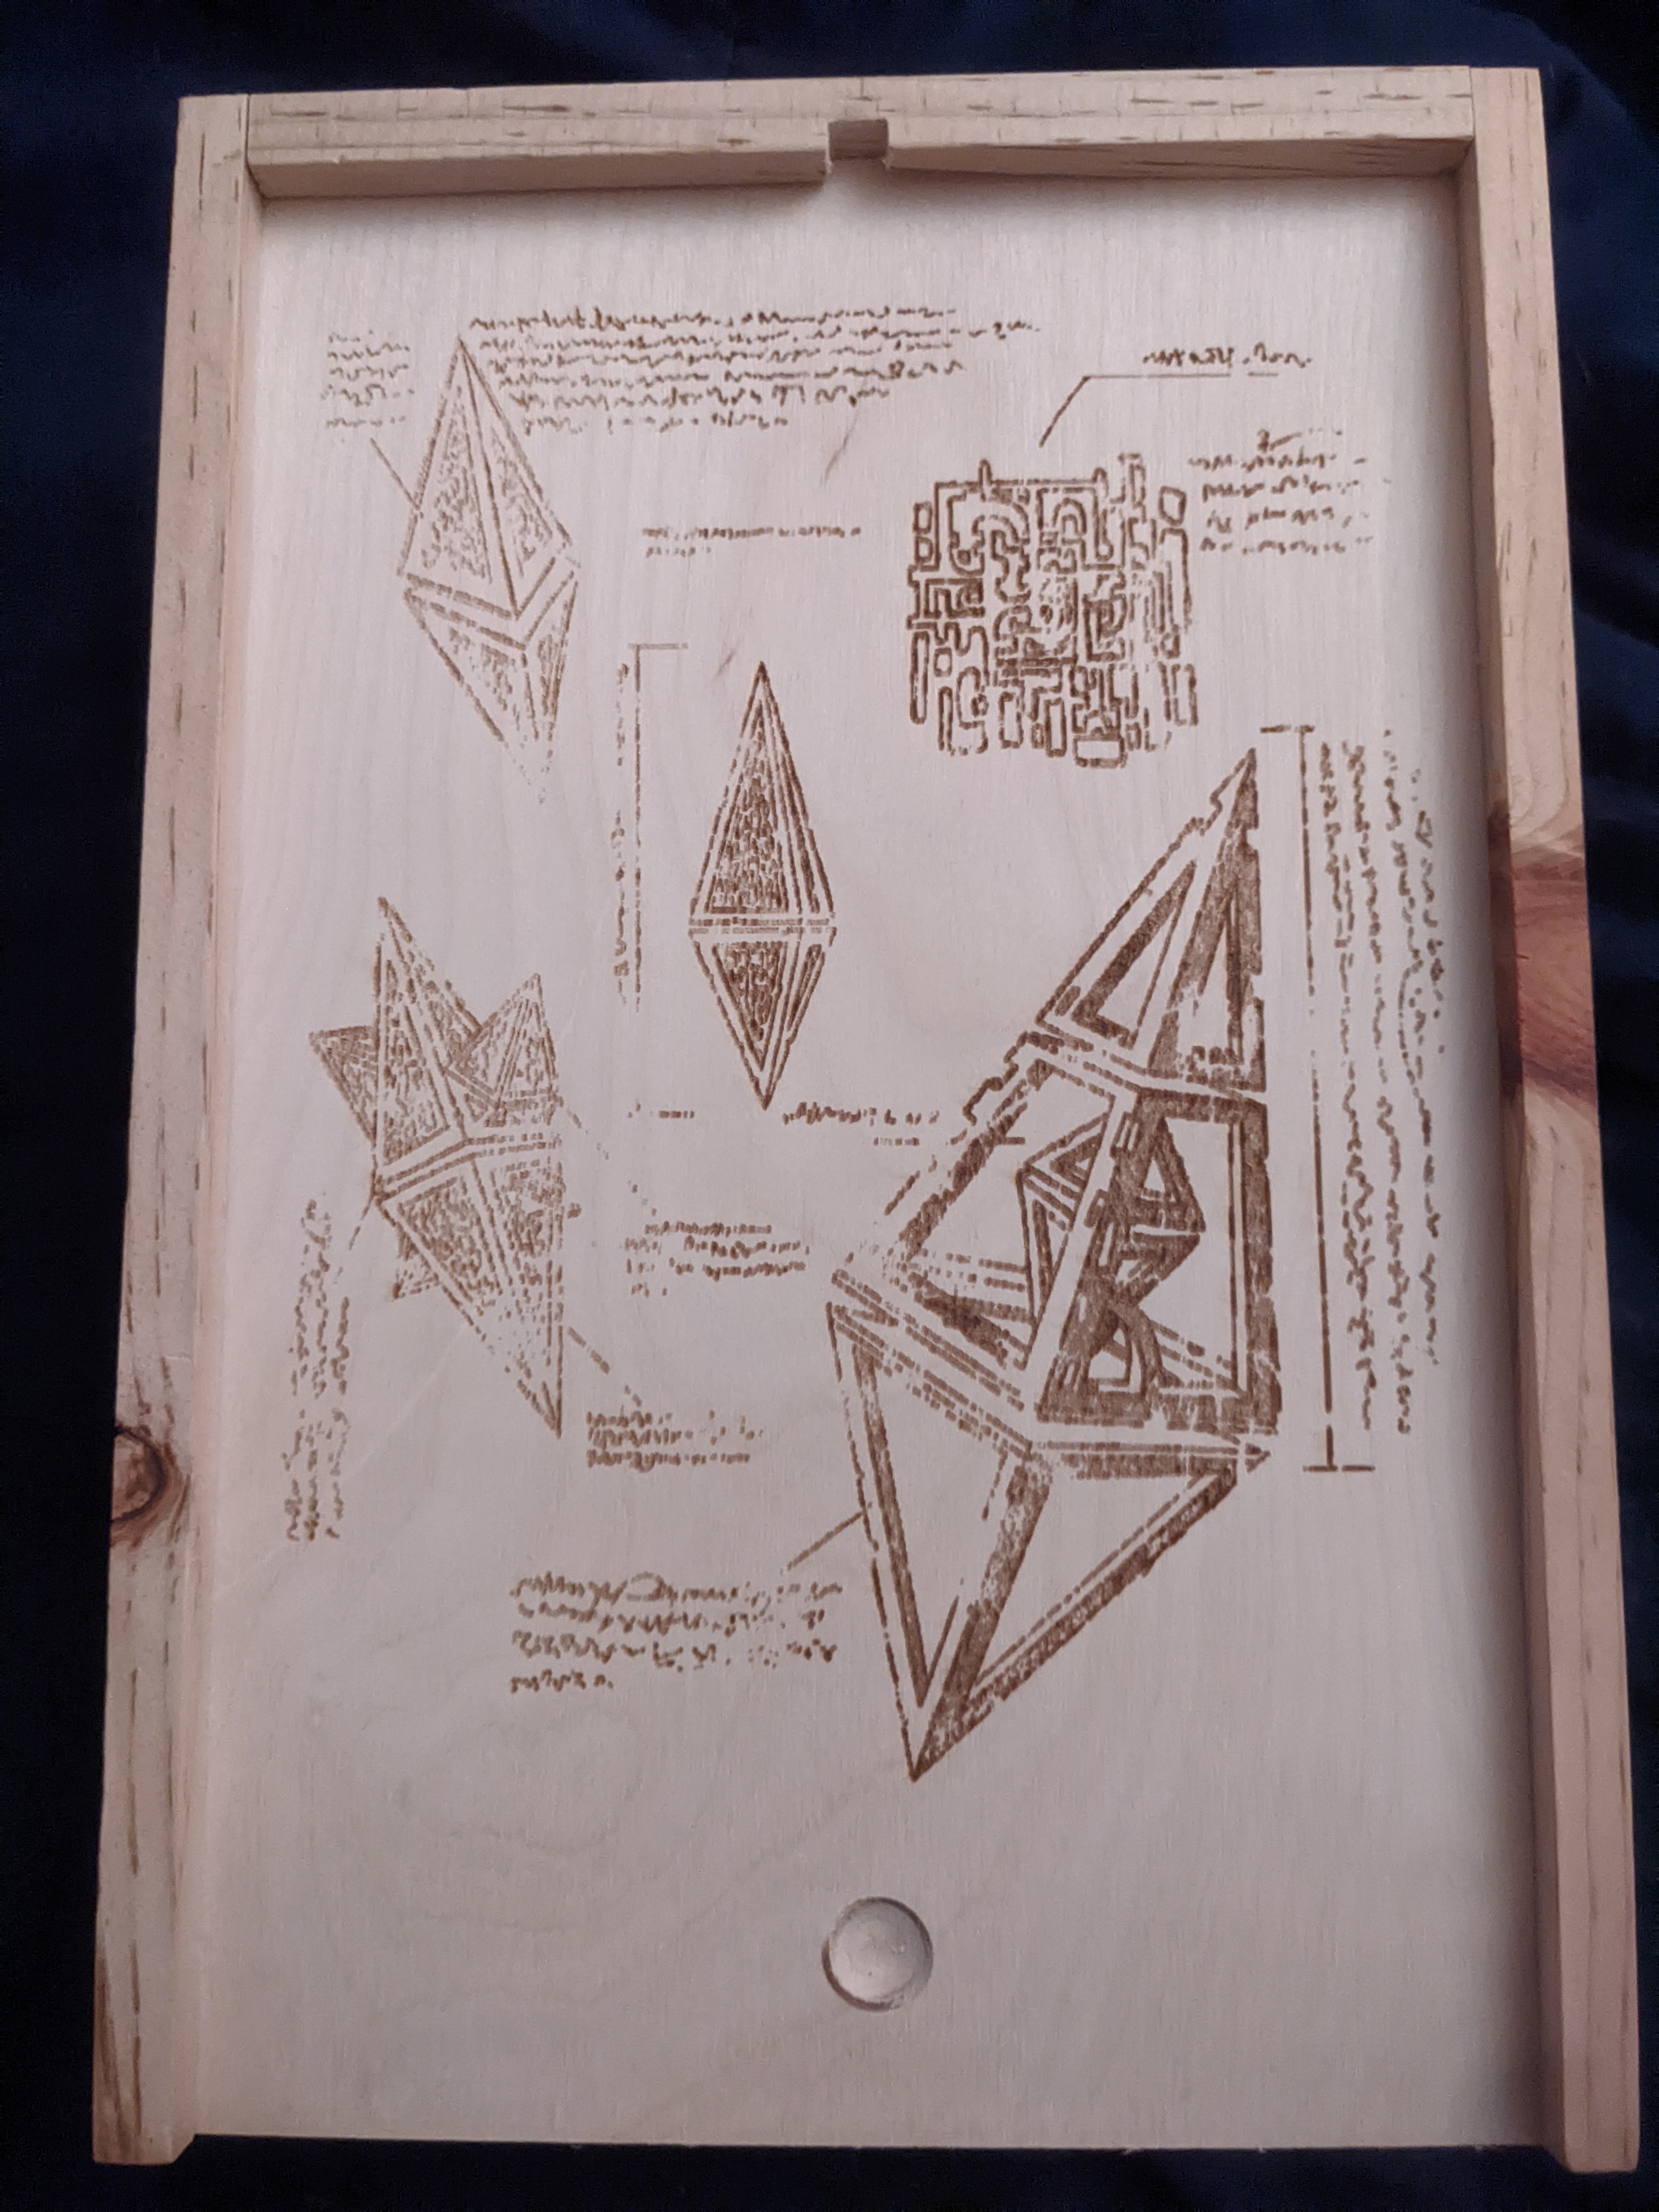
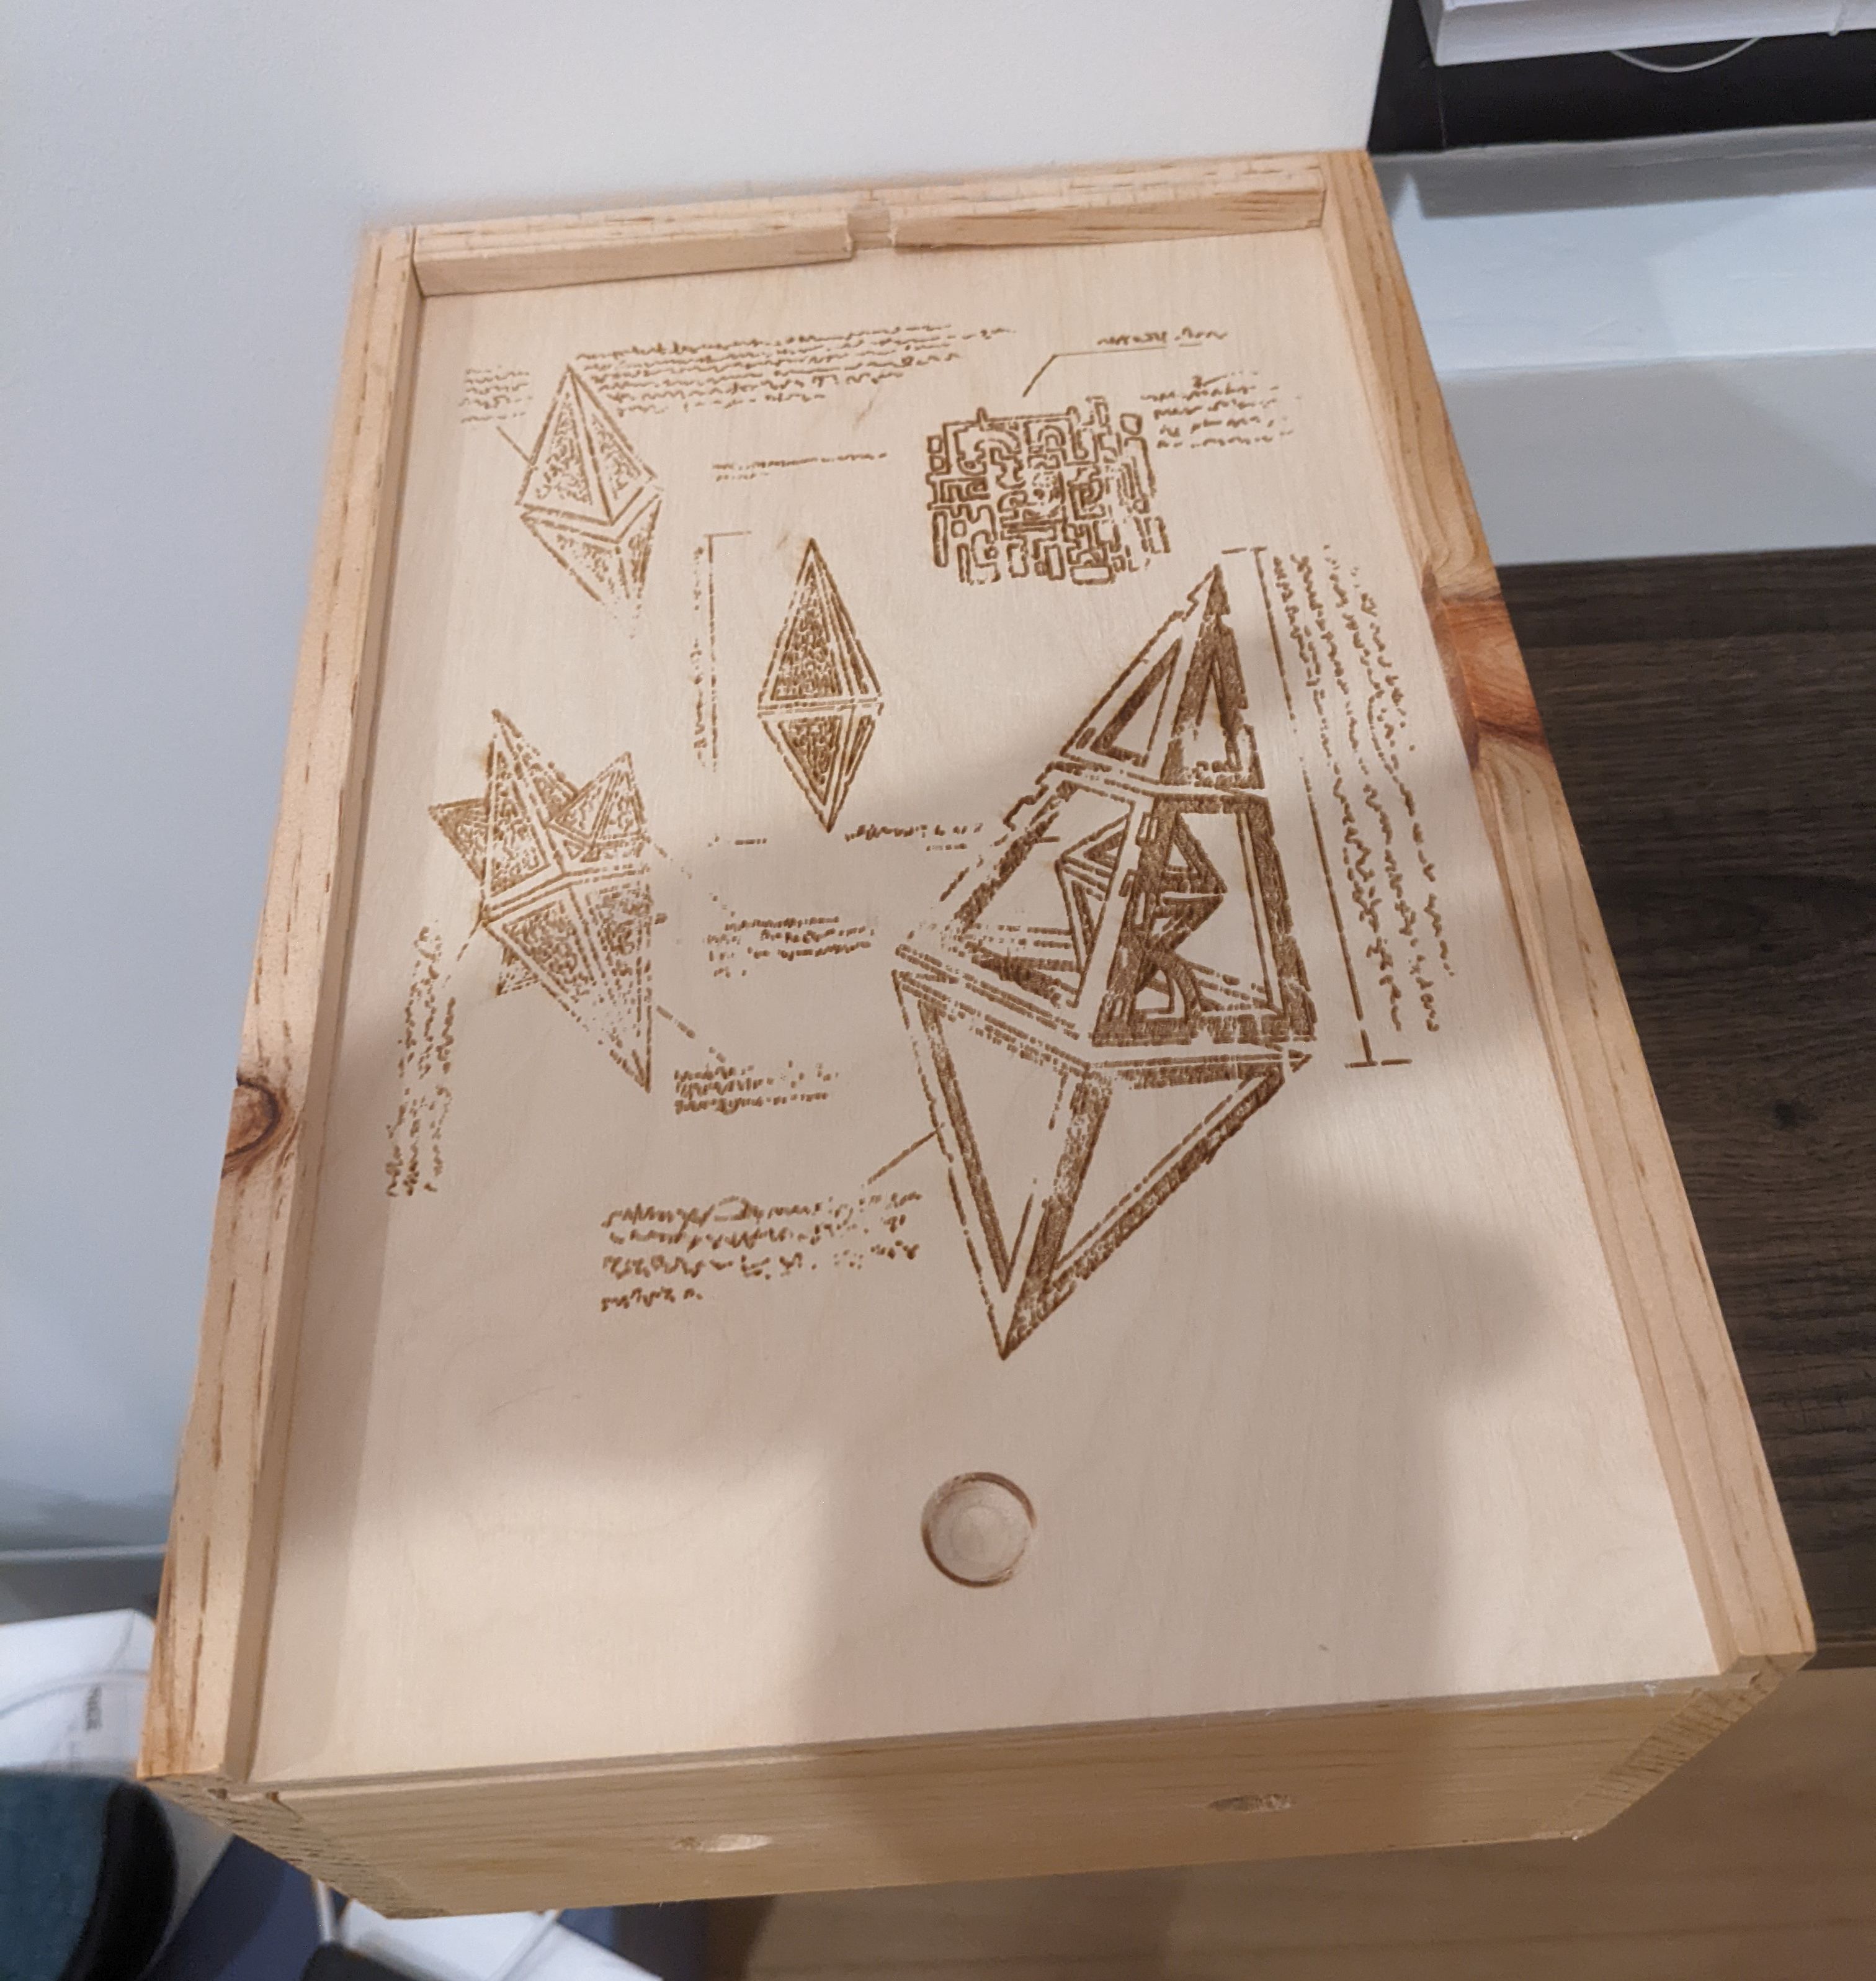
And this art inspired by the Zendikar Hedrons:
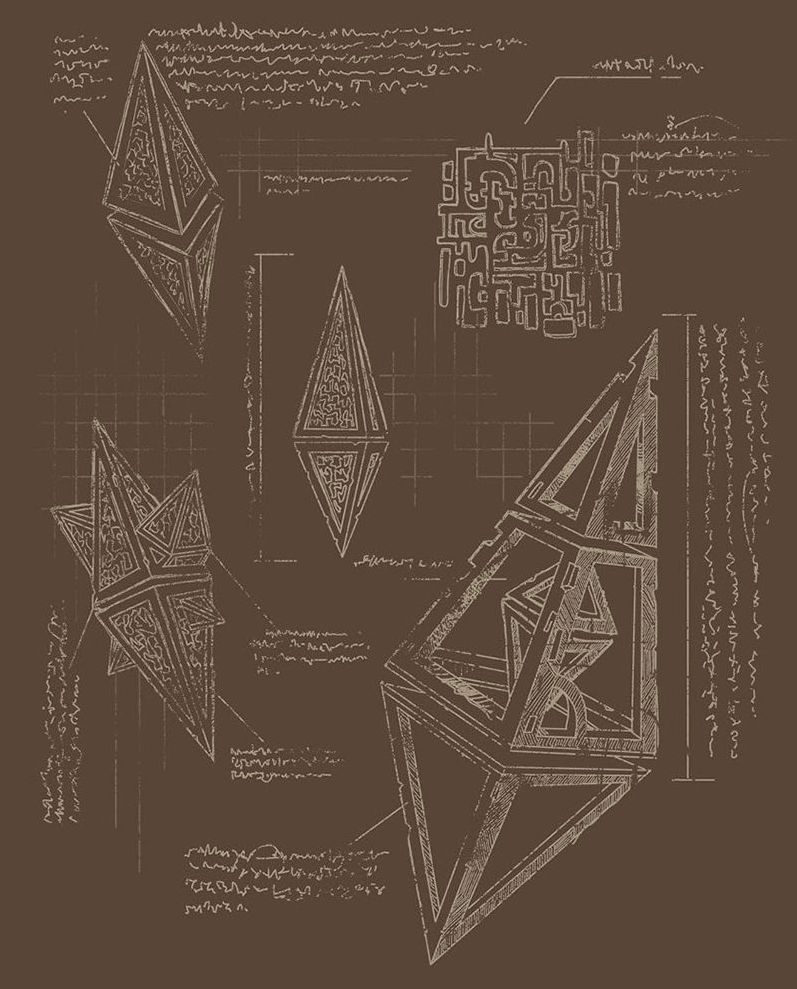
To make these suitable for printing, I had to make them “1-bit” colored. Everything has to be black or white, with no grey. To do this, I used GIMP. I used the filters to try to simplify the images, and used Colors->Thresholds to map the pixels to black and white.
Here were the results: