
x86 Boot Loading
In my previous careers, I’ve spent a decent amount of time involved with bringing up processors in embedded platforms. However, despite spending a decent amount of time working with bootloaders and bare metal processors, I still don’t have a great sense of exactly what they do and how software is built for them. As a learning exercise, I’m in the process of going from the lowest level with the goal of having a loose understanding of most of what it takes to bring up a Linux OS.
Choosing My Initial Approach
There’s a lot of moving parts when booting a processor. I spent a couple days digging into the following areas:
- PXE - This is a protocol for having the boot process pull the images over the network
- BIOS Protected Mode Programming - This is the environment you are programming in when you run code before any other bootloader
- Cross Compiling Linux - This is my end goal. I could either build the pieces from individual source repos, or use a framework like BuildRoot.
- QEMU - This is an emulator that can make testing development a lot simpler by removing hardware from the equation
- Asm Programming - I’ve done a tiny bit of assembly programming, but have very limited x86 knowledge.
- GDB - Good for inspecting the code running in QEMU
PXE
I had two old laptops to play around with. I thought that if I could set up network boot, it would make testing builds on the actual hardware fairly easy. One laptop didn’t support network boot, but the other did have PXE 2.0 built in.
I used tftpd32 on a windows machine connected by a USB-Ethernet dongle to the laptop. It configures a DHCP server to give the laptop an address, and a TFTP server to host the image files. For some reason the built in PXE wasn’t correctly getting the DHCP leases. Eventually, booted a USB image with iPXE which was able to boot from my TFTP server.
I was testing with CentOS images. It would start by loading a vmlinuz (Linux kernel) and initrd.img (root file system). This would then bootstrap a larger image with the live OS.
It wasn’t entirely clear how I would need to package any code I built do be able to be loaded through PXE, so I decided to move on to testing with QEMU
QEMU
Since I had some issues with netboot on my real hardware, I decided to try it with QEMU. This turned out to be especially complicated since I was running QEMU in a Linux VM, and the networking was pretty complicated. I did find this article on how to do it, but network challenges with the VM, made me give up and move on to testing with a disk image.
The main other functionality I needed to look up, was starting a debugging session in QEMU.
Cross Compiling Linux
To try to test the PXE boot with a custom image, I decided to build a full custom Linux image. I figured I could look at how the images were being packaged, and see if I could figure out how to just build a custom bootloader. I looked at Yocto and Buildroot. I went with Buildroot since the internet described it as the simpler option, and I had some familiarity with it.
Here’s how I build it:
1
2
3
4
5
6
git clone https://github.com/buildroot/buildroot.git
cd buildroot
make qemu_x86_defconfig
sudo apt-get install libncurses-dev
make menuconfig # set desired build output
make
It took a few hours to build, but I had an image. I was able to load it into QEMU fairly easily, but I had trouble getting the networking working.
1
2
3
qemu-system-x86_64 -kernel buildroot/output/images/bzImage \
  -initrd buildroot/output/images/rootfs.cpio \
  -append "console=ttyS0"
I decided to give up on PXE for the time being, and move on.
Asm Programming
Finally I moved on to actually writing some bare metal code. I primarily followed along with the tutorial in http://3zanders.co.uk/2017/10/13/writing-a-bootloader/. I had to do a lot of research on the side to actually understand everything in the assembly.
- https://en.wikipedia.org/wiki/BIOS_interrupt_call
- https://riptutorial.com/x86
- https://en.wikibooks.org/wiki/X86_Assembly/16,_32,_and_64_Bits#64-bit
- https://en.wikipedia.org/wiki/FLAGS_register
- https://www.felixcloutier.com/x86/
- https://www.nasm.us/doc/
- https://wiki.osdev.org/GDT
There’s a lot of “magic” that needs to be performed to enable progressively more of the processors functionality. Things like enabling the A20 line, or setting up the GDT seem like things you just need to know to do.
For the most part, things just worked. The only major change I had to make was to use:
1
2
3
nasm -f elf32 boot4.asm -o boot4.o
boot4: boot4.o kmain.cpp
	g++ -m32 kmain.cpp boot4.o -o kernel.bin -nostdlib  -fno-pie -ffreestanding -std=c++11 -mno-red-zone -fno-exceptions -nostdlib -fno-rtti -Wall -Wextra -Werror -T linker.ld
To build the final example, since I got linker errors.
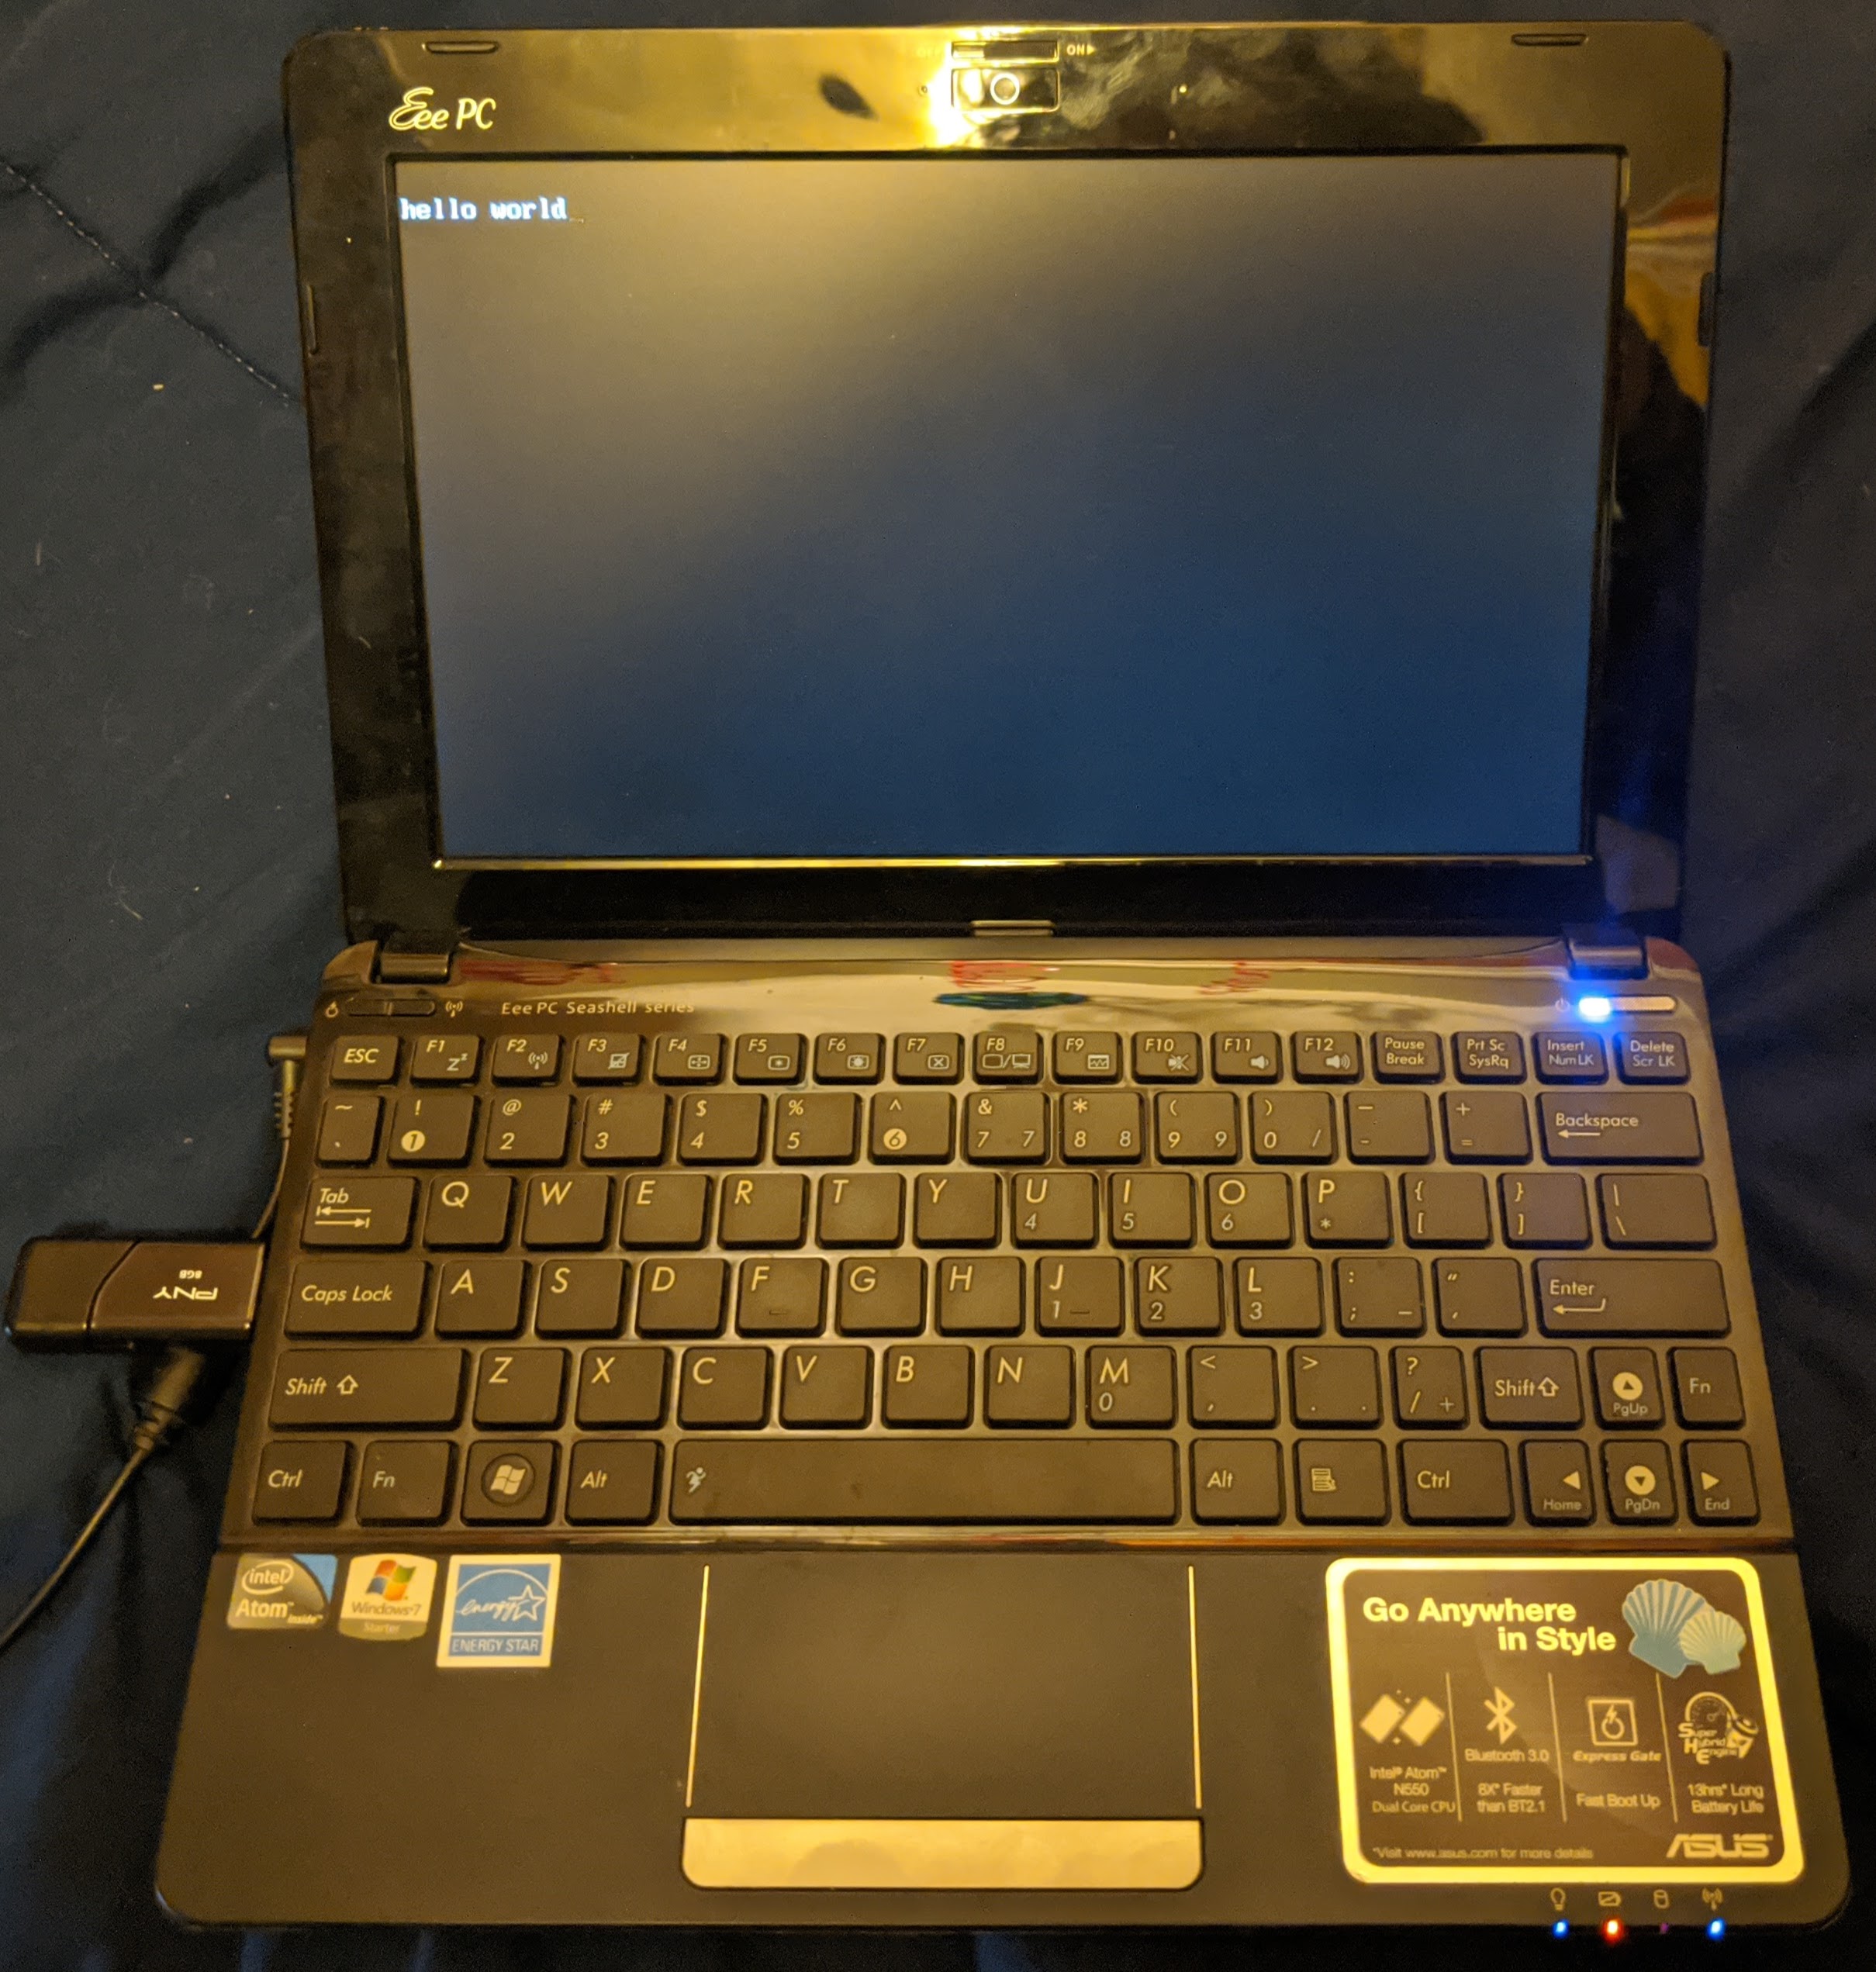
I tried running these on my laptops by dd’ing the images onto a USB, but couldn’t get them to boot. Eventually I switched to a different tutorial. I was able to actually get a hello world USB to run
Debugging with GDB
To get a better understanding of what I was doing, I would use GDB. Unfortunately, I couldn’t figure out how to give it debugging symbols, so I would have to step through instruction by instruction, and set breakpoints by the instruction address. I could match up the instructions with the lines in the binary by decompiling with objdump -b binary -m i386:x86-64 -D BIN_FILE.
Some other useful commands:
- layout asm - make a TUI window showing the upcoming assembly instructions
- info registers - get the register states
- disas $pc,+32 - get the next lines of assembly
- x/1s 0x555555554284 - show a string in memory
Working Toward a Real Bootloader
The second tutorial I followed https://github.com/cirosantilli/x86-bare-metal-examples#bios-hello-world has a much larger set of examples then the first http://3zanders.co.uk/2017/10/13/writing-a-bootloader/. It also uses GAS (GCC’s assembler) and a linker instead of NASM. However, this seems to be more consistent with the other code bases I found, and actually ran on my hardware.
I copied one of the small examples into it’s own repo and set up debugging in VSCode: https://github.com/axlan/boot-tests
I wanted to try to follow https://github.com/matlo607/simple-x86-bootloader, but was missing ‘i386-elf-gcc’, so I decided to take a stab at building the GCC cross compiler https://wiki.osdev.org/GCC_Cross-Compiler.
The guide was very straightforward:
1
2
3
4
5
6
7
8
9
10
11
12
13
14
15
16
17
18
19
20
21
22
23
24
25
26
27
28
29
30
31
32
sudo apt install build-essential bison flex libgmp3-dev libmpc-dev libmpfr-dev texinfo

wget https://ftp.gnu.org/gnu/gcc/gcc-9.2.0/gcc-9.2.0.tar.gz
tar xvzf gcc-9.2.0.tar.gz

https://ftp.gnu.org/gnu/binutils/binutils-2.33.1.tar.gz
tar xvzf binutils-2.33.1.tar.gz

rm  *.tar.gz

export PREFIX="$HOME/opt/cross"
export TARGET=i386-elf
export PATH="$PREFIX/bin:$PATH"

mkdir -p build-binutils
cd build-binutils
../binutils-2.33.1/configure --target=$TARGET --prefix="$PREFIX" --with-sysroot --disable-nls --disable-werror
make
make install

cd ..

# The $PREFIX/bin dir _must_ be in the PATH. We did that above.
which -- $TARGET-as || echo $TARGET-as is not in the PATH

mkdir build-gcc
cd build-gcc
../gcc-9.2.0/configure --target=$TARGET --prefix="$PREFIX" --disable-nls --enable-languages=c,c++ --without-headers
make all-gcc
make all-target-libgcc
make install-gcc
make install-target-libgcc
honestly this was a lot easier then half the times I’ve tried to install pre-built cross compilers.
One minor point I finally tried to clarify is the difference between the names for the different x86 compatible architexures (x86, i386, i686, amd64, x86_64, IA-32e, EM64). This stack exchange covers it pretty well.
Unfortunately, after all this, I still hit a ton of compiler errors. It looks like https://github.com/matlo607/simple-x86-bootloader was written for a much older version of GCC. After learning a little about the BSS section I found a pretty easy fix and got things compiling.
There were scripts to generate disk images that would let me test in QEMU, but they had some issues for me. Eventually, I managed to get the scripts to run successfully, but even after all that the image didn’t run correctly. I made my changes on this fork
In the meantime I found https://arjunsreedharan.org/post/82710718100/kernels-101-lets-write-a-kernel and https://en.wikibooks.org/wiki/X86_Assembly/Bootloaders. These simple examples set up what my current goal would be.
- Compile the minimal kernel in kernels-101-lets-write-a-kernel.
- Test that this minimal kernel behaves like a fully functional kernel (load with grub in QEMU and hardware).
- Write a bootloader that works with the minimal kernel.
- Test bootloader with fully functional kernel.
Compile and test kernels-101-lets-write-a-kernel
This one actually worked out of the box for me. To test it, I forked the repo and added a makefile that generated a grub image. I tested in QEMU and my laptop to confirm it works.
Write a bootloader that works with the minimal kernel
This takes me back to the real challenge. I have a few different references I can start with each with different pros and cons:
| Reference | Pros | Cons |
|---|---|---|
| http://3zanders.co.uk/2017/10/13/writing-a-bootloader/ | Full code compiled and tested | No actual kernel load |
| Well documented | Uses NASM isntead of GAS | |
| Minimal | Failed on laptop HW | |
| https://en.wikibooks.org/wiki/X86_Assembly/Bootloaders | Well documented | Uses NASM isntead of GAS |
| Performs complete boot | Haven’t compiled or tested | |
| Minimal | No build or deploy instructions | |
| https://github.com/matlo607/simple-x86-bootloader | Performs complete boot with kernel | Actual run fails in QEMU |
| Makefile with deploy scripts | No debug symbols in GDB | |
| Minimal | ||
| Full code compiled and tested | ||
| https://github.com/cirosantilli/x86-bare-metal-examples | Full code compiled and tested | No actual kernel load |
| Symbolic debugging supported | ||
| Minimal | ||
| https://ipxe.org/ | Full code compiled and tested | Difficult to extract minimal example |
| Production bootloader codebase | ||
| https://salsa.debian.org/grub-team/grub | Full code compiled and tested | Difficult to extract minimal example |
| Production bootloader codebase |
Looking at my options, it seems like my best bet is to start with the code from x86-bare-metal-examples and tried to port over the rest of the kernel load from one of the other minimal examples.
I started by looking at https://en.wikibooks.org/wiki/X86_Assembly/Bootloaders, but it’s focus on the floppy, and the fact I’m not sure the exact asm notation it was using made me give up pretty quick.
Next I spent some time digging into https://github.com/matlo607/simple-x86-bootloader. Adding debugging symbols was pretty straightforward, and it seemed to be basically working up to the point it starts a bootloader shell. After jumping to the second bootloader stage, it seems like nothing can be printed to the screen. Really not clear what’s happening here, and started running into my lack of depth in debugging linkers and assembly.
I went back and spent some more time with http://3zanders.co.uk/2017/10/13/writing-a-bootloader/ and https://github.com/cirosantilli/x86-bare-metal-examples. I got pretty confident with my ability to manipulate these examples, and did a few exercises mixing code from them.
However I was now at a bit of a sticking point. I could write my own baremetal application by bootstrapping the code from disk into memory and entering 32bit protected mode, but I wasn’t any closer to loading kernels. After reading https://alex.dzyoba.com/blog/multiboot/ it seems like writing a multiboot loader wouldn’t be too hard. https://www.cs.vu.nl/~herbertb/misc/basickernel.pdf also goes over some similar information from the kernel perspective. It seems like minimally supporting a multiboot kernel is pretty easy (loading an image from the right spot), but actually handling all the potential flags might be a bit tedious.
The other option would be to do a chain loader. While this doesn’t DO anything it would be a good basic proof of concept.
Making a Chain Loader
It was easy enough to get a basic chainloader working in my scratch repo, but it would fail to load bootloaders that assumed that they’re in the first sector of the disk. Not really sure how to get around that. Looking at grub http://git.savannah.gnu.org/cgit/grub.git/tree/grub-core/boot/i386/pc/boot.S it looks like this is a parameter that could potentially be customized, but it didn’t look like there was any way to signal to it that it needs to read a different sector.
From that I’m calling this done for now. It’s a shame I never got https://github.com/matlo607/simple-x86-bootloader working since it was closest to my original goal. I think I’ve gotten a much better sense of what’s happening in these layers, and like many programming mysteries, it’s mostly arbitrary legacy nonsense.